|
STAGE BY STAGE |
|
First of all, I use hardback sketch books and
I stress hardback sketch books because when your sketch books get
battered about like mine do, they still don’t lose any pages. This is because a hardback sketch book is properly string
bound.
Sharpen your watercolour pencils with a knife or a blade of some kind,
don’t use a pencil sharpener because this will make the points sharp and
brittle, a knife will also give you lots of different angles.
I always use cool grey for my outline drawing because this just looks
like a normal pencil line, but also, because it's a watercolour pencil, as soon
as I stroke over with a wet brush, it's going to disappear if I want it
to.
|
Essential
Supplies
The items you will need to complete this scene are as
follows:-
|
 |
|
|
|
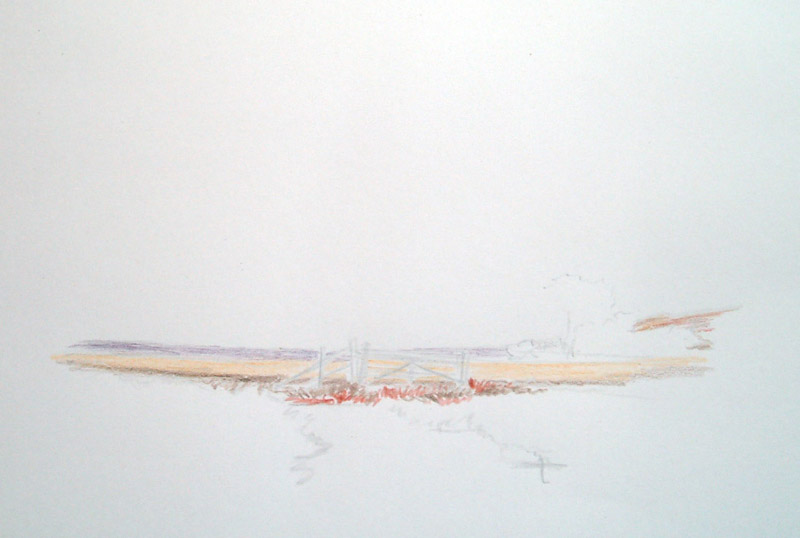
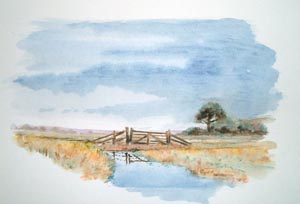
This first little
drawing is an area of the country that I am particularly fond of,
Norfolk. This particular place, Cold Harbour Marsh near Luddon, is the
haunt and indeed home of my greatest painting hero Edward Seago.
|
Now look at this
drawing. Not a lot there, now it's time for the colouring in.
And it is simply that, colouring in like a kid's drawing.
|
|
|
|
So simple and so much
fun. For the far distance I have used purple grey, coming slightly
further forward with a bit of yellow ochre, and then adding a touch of
Vandyke brown and light red into the nearer areas.
|
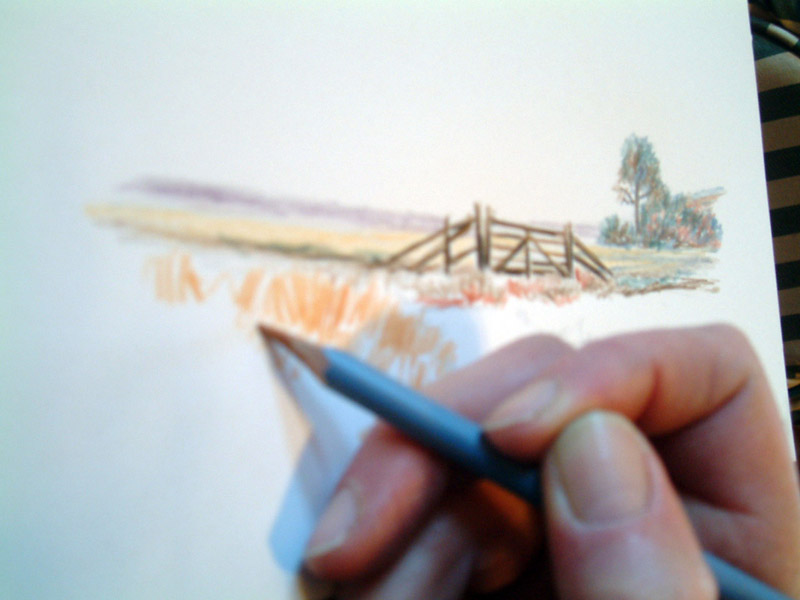
Now as I come further forward into the bushy bits in the middle
distance, I have used mixtures of Hooker's green dark, light red and
Vandyke brown. Literally just scribble them all in together, not taking
any time to fill any particular areas in. This is just scribbly
experimentation playtime to see what kind of array of colours you can get
out of this tin of pencils. For the gate, I used Vandyke brown and
stroked into the base areas of it with a little bit of mars black.
|
|
|
|
Now for the foreground, this really is just
bash it on time. Look at the way I’m just scribbling with yellow ochre,
big scribbly scribbly strokes, then a few touches of Vandyke brown
here and there, get it all mixed in.
|
|
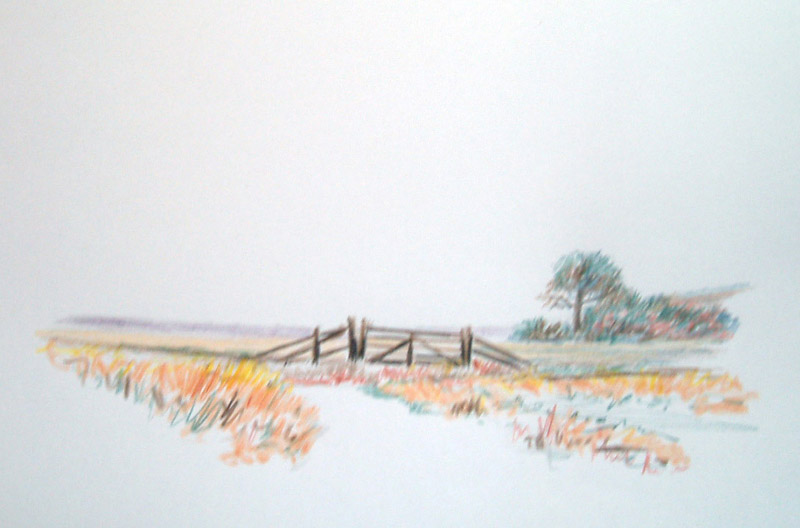
A few touches of light
red mixed in amongst it. A few touches of Hooker's green dark here and
there. And look it really is a mess. But now it's time for the magic and
that of course is water. |
|
|
|
Now you may be
wondering what has happened to the sky in all of this, because if you
were to try and scribble on your sky wash like all the other colours you
are liable to end up with some scratchy lines in your sky, which of
course you don’t want.
|
|
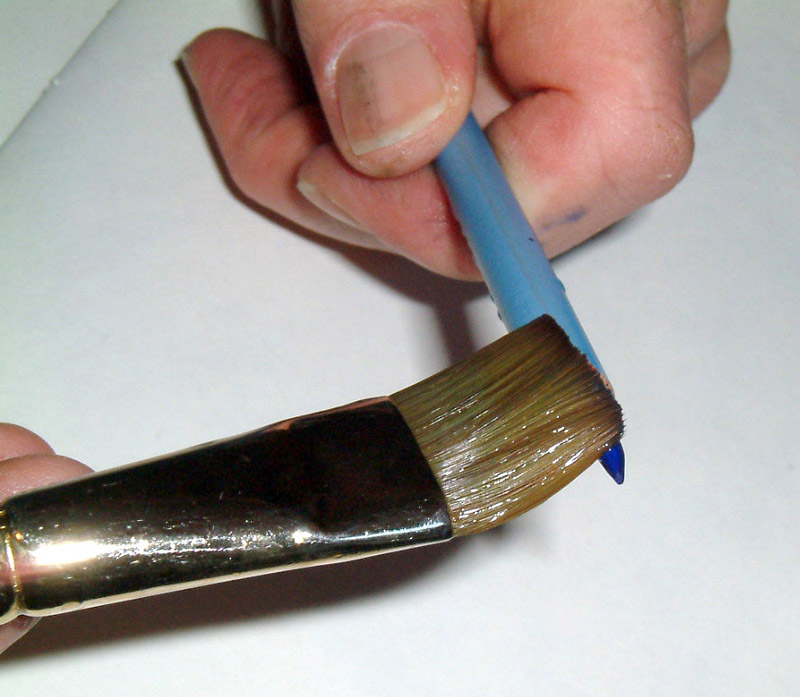
So instead, take your
watercolour pencil in one hand, wet brush in the other and stroke the
paint off the pencil. And then simply stroke on and paint your sky
wash.
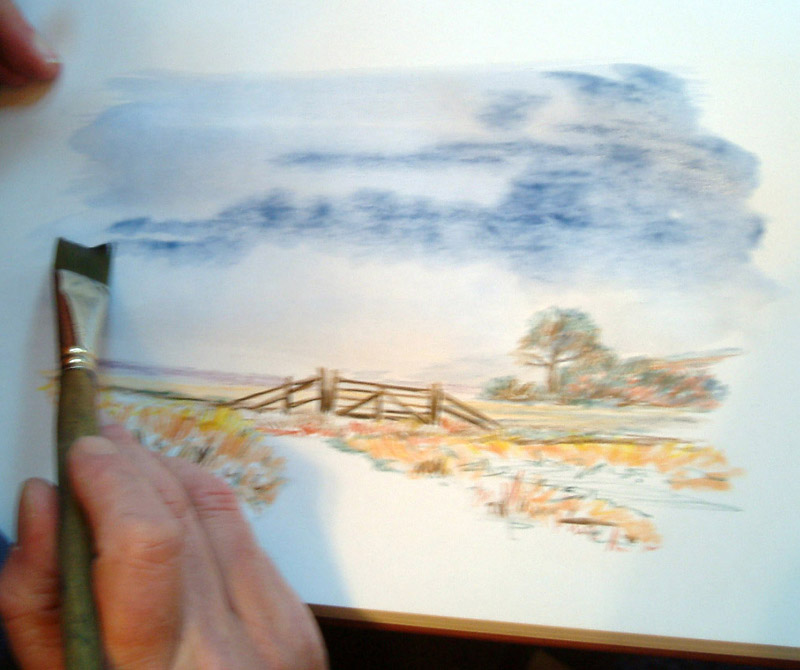
Now for the rest of
it, simply tap onto your drawing and stroke with a wet brush which melts
the paint turning it into a lovely little watercolour painting, as
opposed to a drawing. |
|
|
|
At this stage, when you
are putting the water on, you can decide whether you want to melt all of
your squiggly bits with the water or leave some sharper bits showing
here and there.
Now taking a little bit of my cool grey off the pencil with my round No.8 brush, just enhance some of the darker areas and the bushy bits
here and there.
|
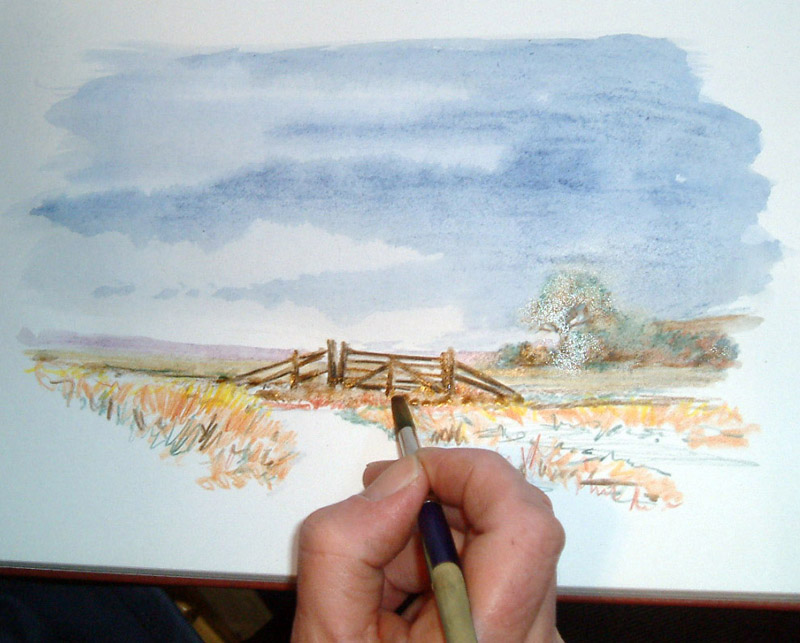
For the little bit of
dyke showing in the foreground, it’s the same treatment as the sky. Picking
the paint off the pencil with my No.8 round brush and simply filling it in.
Notice incidentally that the dyke is wider in the foreground than it is
near the gate, make it work like a path, this is your recession. Whilst
the water is still wet I’m adding a few strokes with my Vandyke brown
with a dry pencil to represent a little bit of reflection. And there we
go, as promised, that wasn’t too complex was it?
|
|