Thrunton Watercolour Pencils
| STAGE BY STAGE | |||||
|
Now getting slightly
more difficult, a big hilly scene in the heart of Northumberland, which
is of course is an artist's paradise.
|
|||||
|
|
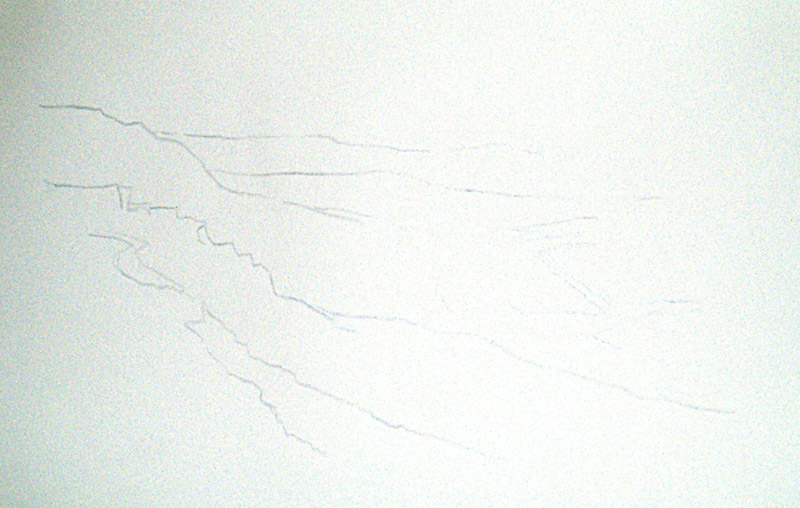
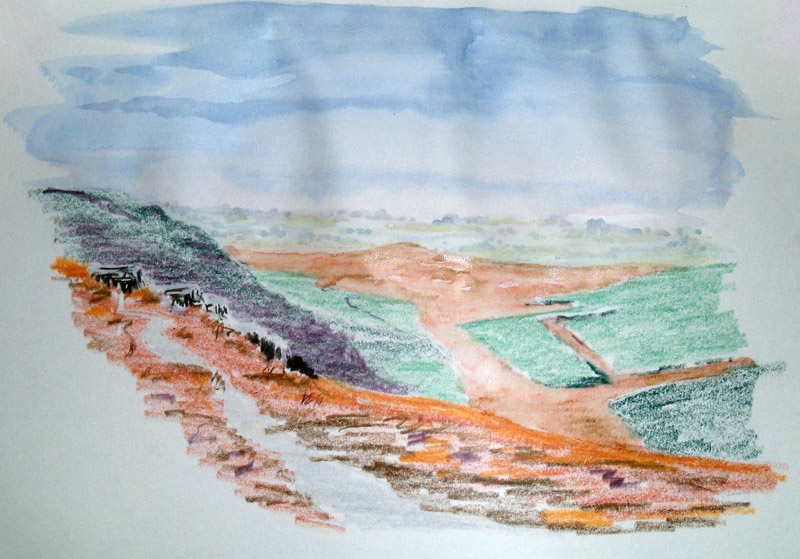
Firstly, a very simple outline drawing but not so simple as before, even so, just an outline. As usual I use my cool grey and all I’m doing is mapping out the different shapes of hills marking out the tracks and woodlands in the middle distance. Then again time for colouring in.
|
||||
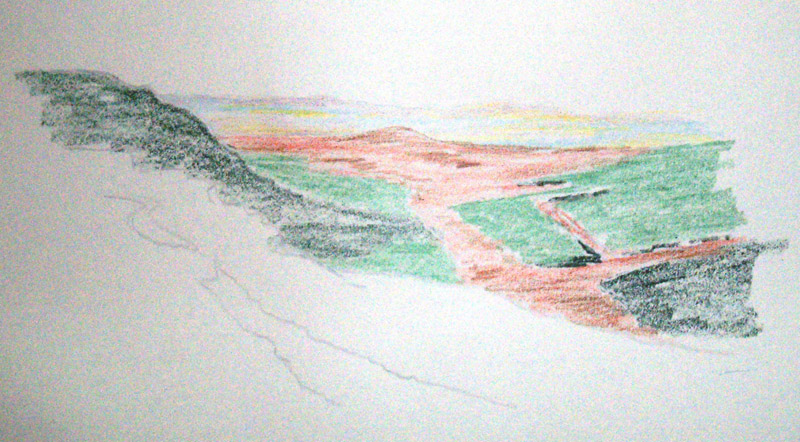
| Coming slightly further forward for the middle distance gauzy areas I have used my light red and a few strokes of Vandyke brown here and there amongst it. Notice I have brought this colour mix further forward to create the clearer areas amongst the plantation forests. Speaking of which, for the plantation forests I have used Hooker's green for the nearest one, and a little bit of viridian (hue) as it goes slightly further away. I also used Hooker's green for the big lump on the left-hand side, making it nice and dark, pressing on hard. And again a little bit of my purple- grey in amongst this green so that when I stroke over with the water, it is going to make this hill really dark behind the more foreground rocks. Hence pushing the rocks further forward. |
|
||||
|
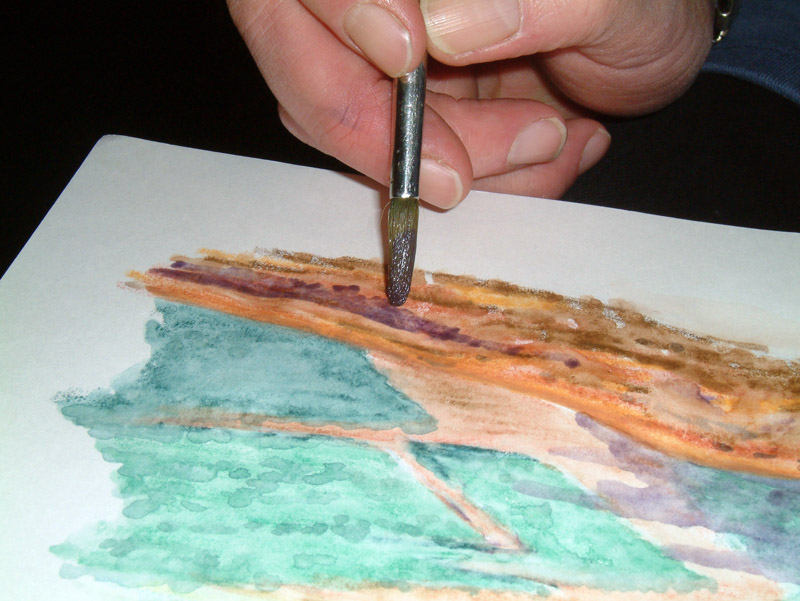
For the immediate
foreground, get a load of colours whacked on. I scribbled on with
some light red, nice and strong, a bit of Vandyke brown here and there, and
a few touches of yellow ochre good and strong on the top line to catch a
little bit of light.
For the rocks I used firstly cool grey for the light bits on the top, followed by black for the darker areas. I also stroked very lightly over the path using the side of the pencil with cool grey. |
||||
|
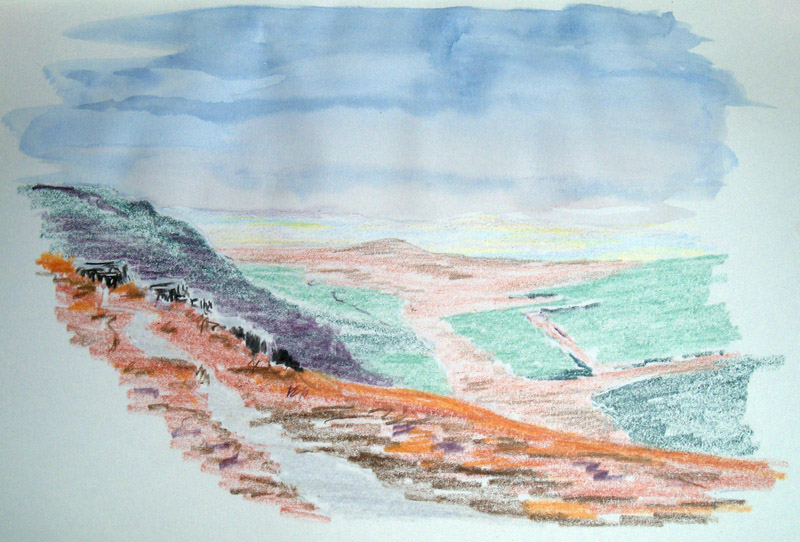
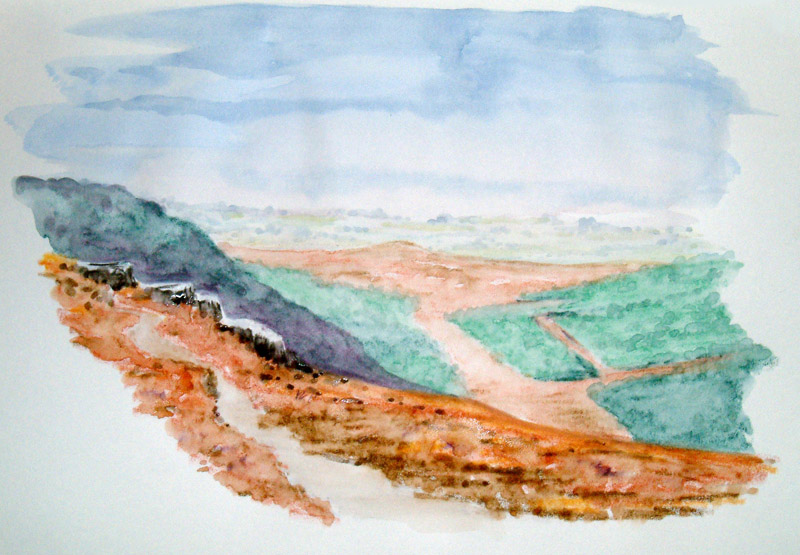
Once I put my ultramarine blue on, I started stroking a little bit of light red into the base of the sky areas, and with a touch of indigo add a few clouds. |
|
||||
|
|
||||
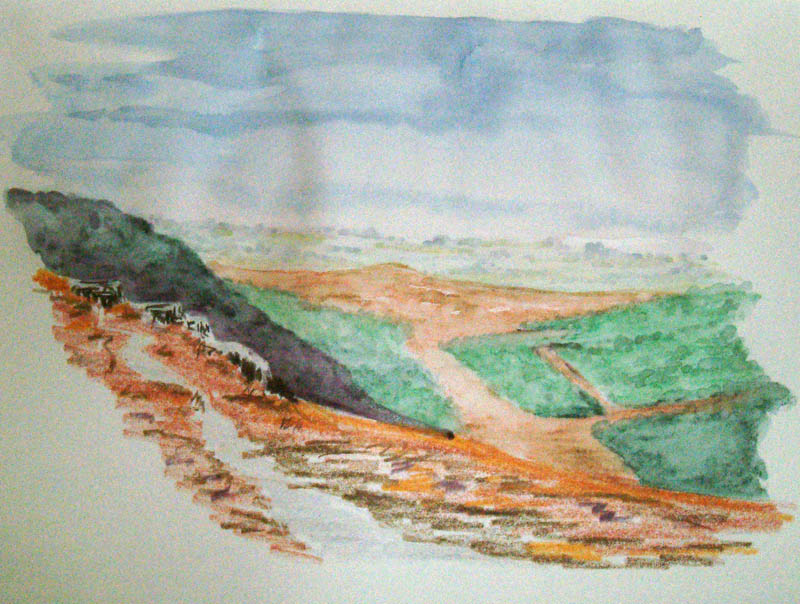
| Then wetting in to the middle distance gauze, brown reddy areas. You may notice here and there that as I wet these areas that I leave a few tiny touches of colour without water, just for a few sharper touches here and there. |
|
||||
|
And again moving onwards to those plantation forests, or in this case big green lumps. Notice at this stage that the big flat green lumps that I drew for the plantation, that by tapping on as I wet the paint I am breaking up these sharp edges of the blocks and so giving it a more wooded feel. |
||||
|
Now coming further forward
into the big dark hill coming out on the left-hand side. Now into the foreground areas, but still very simply the same process, wet it all, but this time kind of stippling on with my No.8 round brush to give it a rougher texture and effect. On the rocks I am leaving the top parts un-wet, so as to capture light on the rocks. |
|
||||