|
STAGE BY STAGE |
|
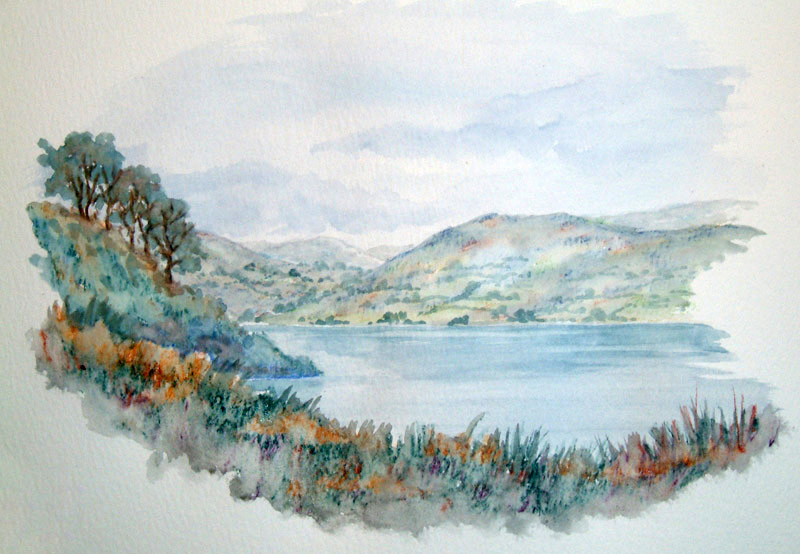
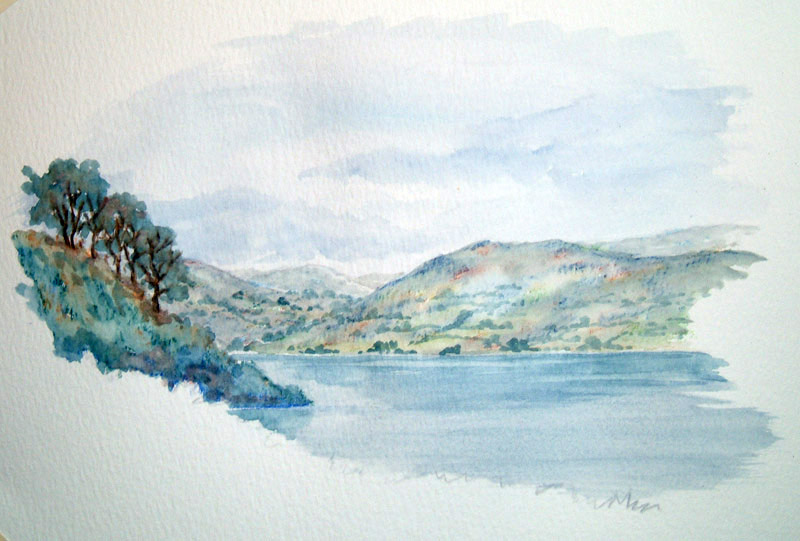
For this
project we are going to do a lakeside scene. I am doing this picture on Langton rough 140lb paper. For your sketching expeditions you can do
your picture or watercolour pencil painting in your sketch books which
mainly contain cartridge paper. A good strong cartridge paper is
sufficient for the amount of water required for watercolour pencils.
|
Essential
Supplies
The items you will need to complete this scene are as
follows:-
|
 |
|
|
|
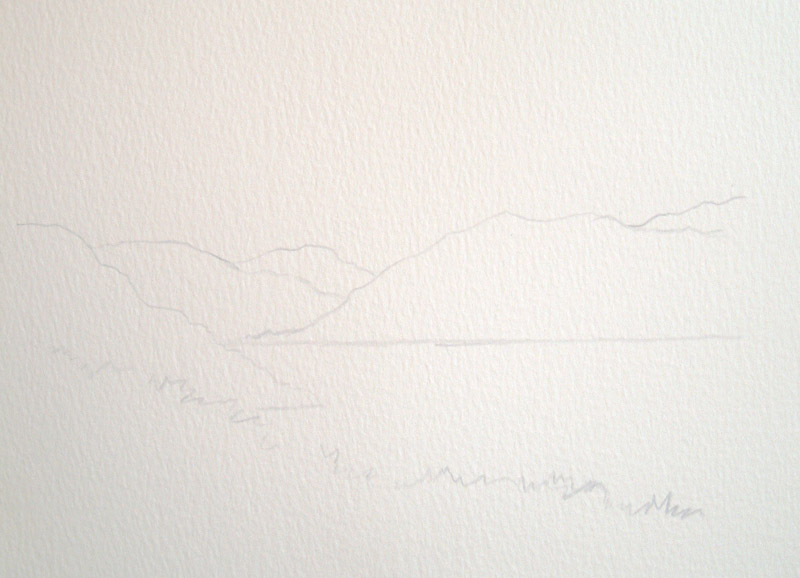
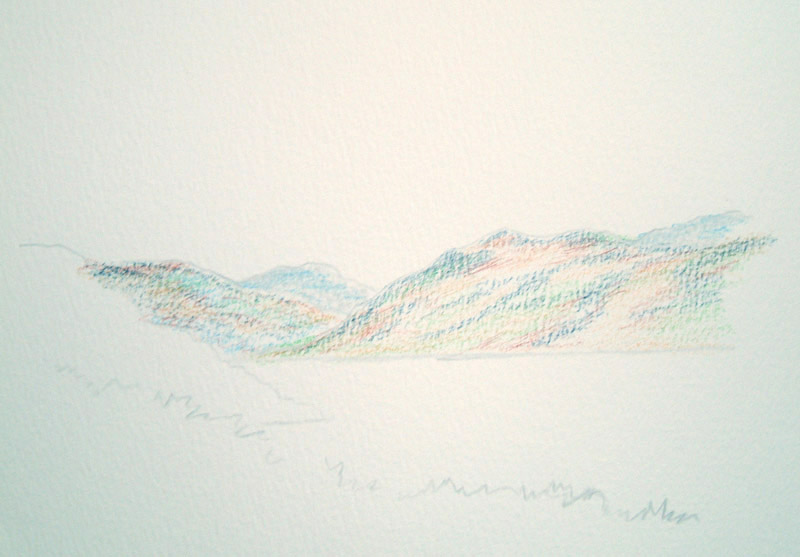
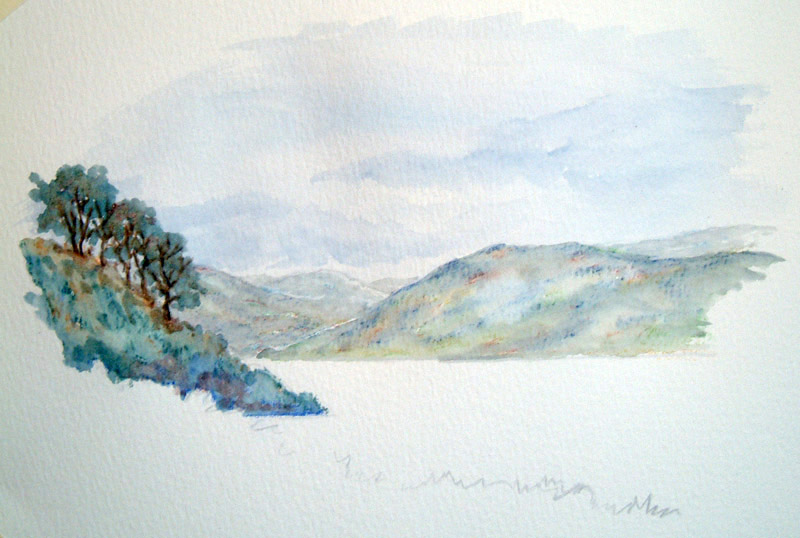
Now in this drawing as usual it is a very simple outline
drawing, using cool grey. There is a lot
more stuff going to go on in the middle distance and hillsides which we
don’t need to draw. |
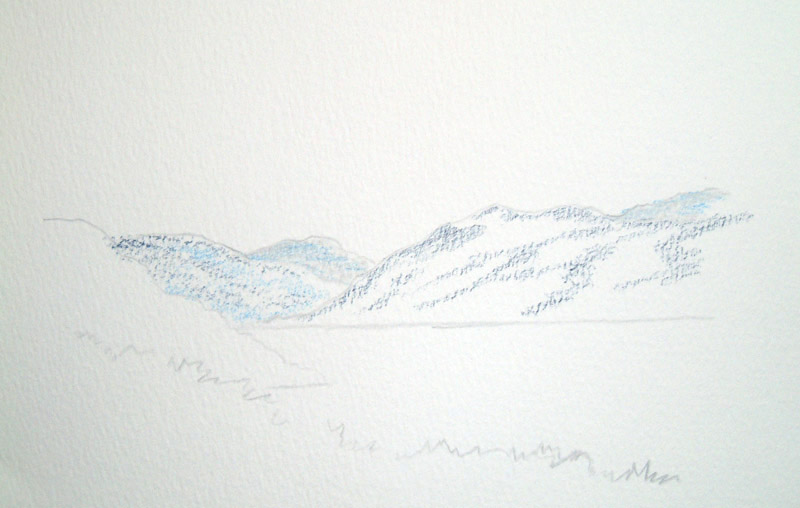
I am firstly shading in the far distant hills with again my cool grey. I
am adding a tiny touch of coeruleum blue on top of this colour. For the
near hills starting off with a touch of indigo, just here and there but
notice I am not doing it vertically or horizontally, I am shading in
using the side of the pencil, but bringing the strokes down in the way in
which I want the hill to flow. |
|
|
|
Now I need a tiny touch of yellow ochre here and there into the white
areas which I left uncoloured. Remember at these stages this is always
going to look a mess but don’t worry about this, draw through it. Add
onto this a few touches of light red and also a few touches of vivid
green. There are some lovely descriptive colours in this new range of
watercolour pencils by Daler-Rowney. But be careful, vivid green does
exactly what it says on the tin, IT IS VIVID. So be sparing and as you
will see here, there are just a few hints of it. |
|
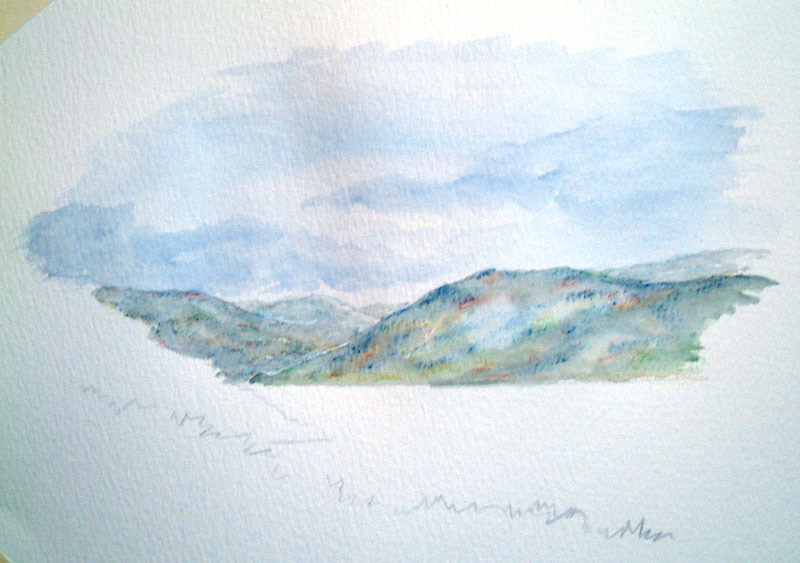
Before we go any further
with the colouring in process, I am going to wet what I have done so
far. With my ¾" wash brush firstly fill in the sky areas. Starting
off with coeruleum blue and then a touch of indigo here and there for
some clouds. With very simple strokes take the paint off the pencil using a
wet brush, lay the coeruleum blue on in a big wash without pre wetting
and then in a similar manner whilst the first wash is still wet, stroke
the indigo off the pencil using the same ¾" wash brush and lay on a
couple of very simple blobby bits to indicate clouds.
Now using my No.8
round brush, dipped into water simply stroke into the already coloured
areas, i.e the hill sides. Merging the colours one into the other to give
you a lovely soft hilly effect. |
|
|
|
Remember when you are
doing these strokes make your brush strokes count, shape the hill the
way you want it to go. And as with any pencil, the harder you press on,
the stronger the mark is going to be. Occasionally, just as in
watercolour painting, where you want some lighter areas, squeeze out your
wet brush and just draw out some paint here and there to give the
impression of lighter areas. Also this is a good technique because everything is so wet,
you can pick bits of paint up from one area and drop
into other areas, e.g. whilst I was wetting the foreground hill, I picked up
a little surplus paint and added it to the distant hills to
give a little bit more movement to the distance. |
|
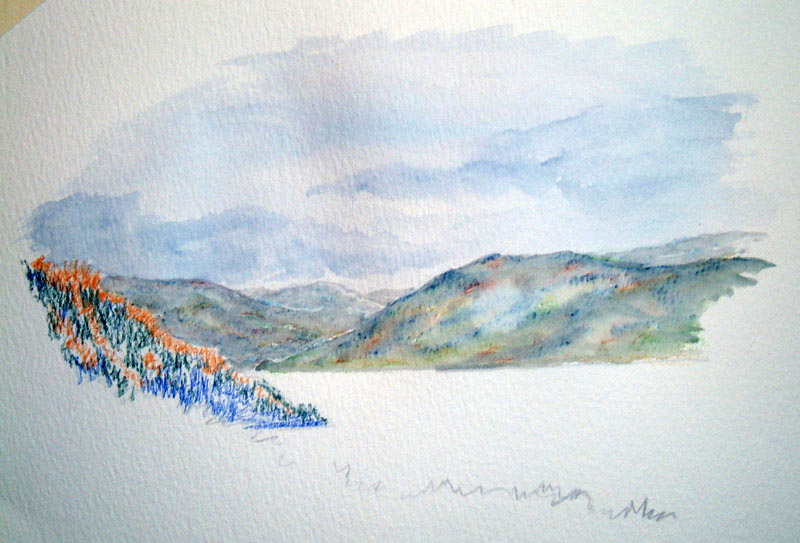
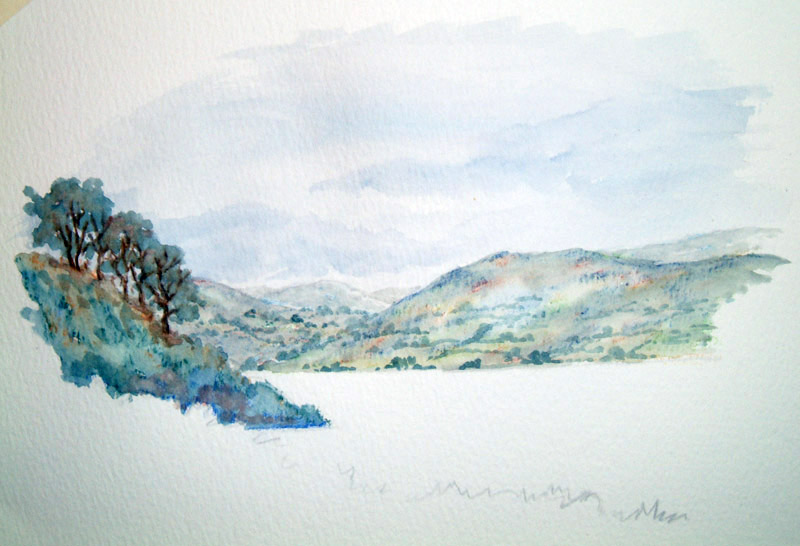
Now the middle distance hill, starting off with a little bit of
raw
sienna followed by Hooker's green dark and just scribbling it on. But
this time I am not laying it on smoothly like the distance, I'm making it
rougher, harder strokes to give the impression of more texture which you
can see of course because you are getting closer. Now a little bit of
French ultramarine blue here and there, but mainly in the bottom part
of that hill. This clue will serve to drop this behind the foreground,
once I’ve done the foreground that is. |
|
|
|
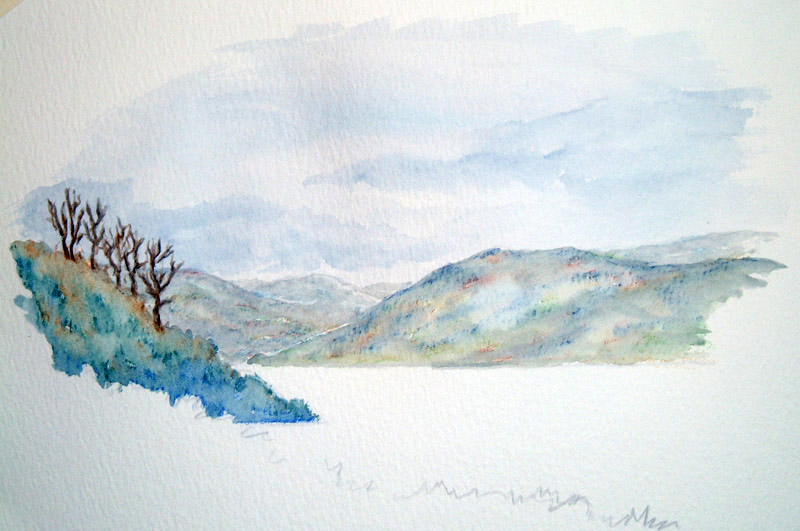
Now we are going to add a few trees here and there, starting off with a
little bit of Vandyke brown. Very simply doing the outline or skeleton
of the trees. Notice I’m not colouring in foliage at this stage. There
is a reason for this, I am sure I will think of a reason for this in a
minute. Now a little bit of mars black to the left-hand side of the
Vandyke brown in the tree trunks. Looks a bit messy at the moment but it
will be fine, trust me I’m an artist.
|
|
Now to wet that stage of the painting. Instead of just going on in
big broad strokes, I’m stippling on with my No.8 round brush. Stippling
on will give a rougher effect rather than being all smooth and even.
Notice that the ultramarine blue doesn’t show up as a bright
blue, instead it adds the depth to the bottom part of the grasses. I am
also wetting the tree trunks with the point of my No.8 round brush so
there is no hard edges where the Vandyke brown meets the mars black. |
|
|
|
Time for the foliage.
I am taking my Hooker's green dark straight off the pencil with my No.8
round brush and then paint on again in a stippling motion to give the
foliage. |
|
Add to this a little bit of raw sienna here
and there, and a little bit of light red there and there. Just so that
you are not ending up with a load of clumpy green bits. |
|
|
|
Now it's time to go back to the distant hillsides and so forth, and
just with my No.8 round brush I am taking a little bit of Hooker's green
dark off the pencil adding a few lumps and bumps and squiggly bits here
and there into the distant hills and you will see just how much
difference this makes to adding life and a little bit of movement to
what was before a fairly uninteresting area. Remember don’t make this
too bright in colour and don’t go mad with your amounts of detail, the
more you put into this the further foreword you are going to bring it.
Stand back and look occasionally see how far you have gone. As any good
cook will tell you, you can put more salt in a dish but you can't take it out.
|
|
Now it's time for the lake. I am not going to go mad on reflections on this;
instead, a bit of mixing on the brush using Hooker's green dark and ultramarine
blue, stroke one pencil first following straightaway by the next
pencil, so you are mixing this paint on the brush. Drop a load of this
on, then let it dry before doing the next bit. |
|
|
|
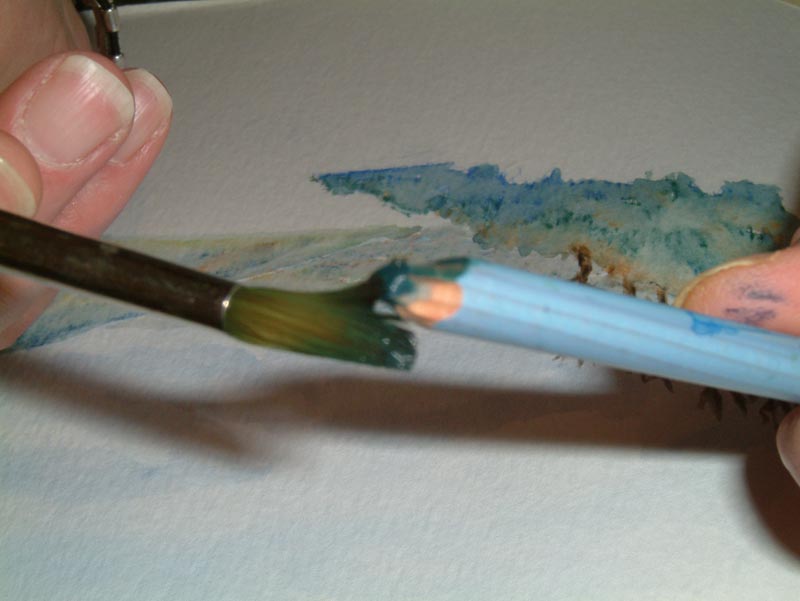
Now for the main water I am using blue-grey and simply stroking the
colour off the pencil with my ¾" wash brush and quickly stroke
through everything you have previously done in the water areas. If you
don’t mess about too much you are not going to disturb what you have put
on before. So speed is of the essence. With my ¾" brush washed out, I
now sharpen the brush between my fingers and draw out a few shafts of
light here and there on the surface of the water. And there you go, very
quickly the scary bit is done. |
|
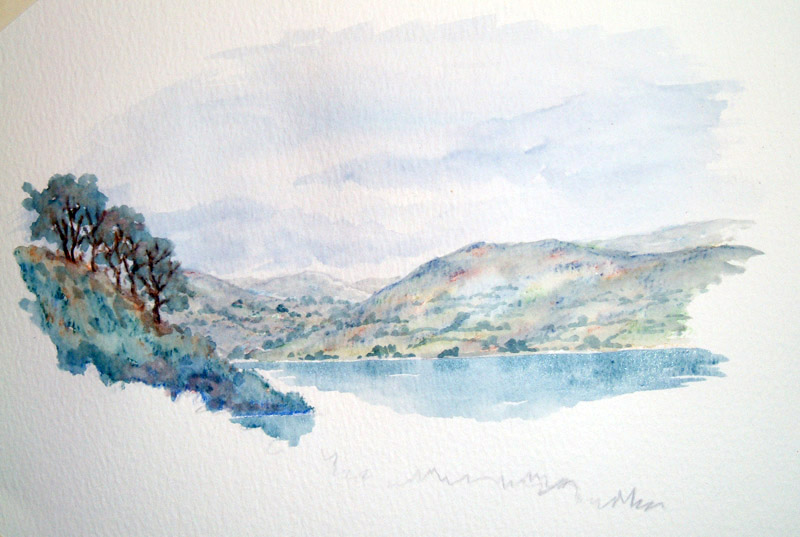
Now into the foreground which needs to be good and strong, and this is
just really a bit of rough grasses coming down to the water. I am
starting off firstly with a bit of raw sienna, remember what I said
earlier, the harder you press on the stronger the marks are going to be.
So this time give it a little bit of welly. On top of the raw sienna, I
am stroking on a little bit of Hooker's green dark. This time make a few
strokes of grass here and there sticking up into the water. Followed by
a few bits of light red and some touches of purple-grey. And what a mess
it looks. Until that is we add the water. |
|
|
|
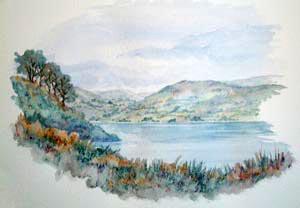
Again when I am adding the water, I'm doing a little bit of stippling this way
I am going to leave a few bits of the white paper showing through
here and there, as well as giving a rougher feel to the foreground
grasses. After all that mess, look what a lovely finished colour that
combination gives for a little bit of interest in foreground grasses. |