|
STAGE BY STAGE |
|
Throughout this series of articles we have used quite a few different
techniques and covered quite a lot of seasons, but notice how few
colours we’ve used. We visited various parts of the countryside from
bleak moorland scenes, the Lake District to bright autumnal scenes and the
beauty of pastel Suffolk, but always still using the same colours. This
just shows the versatility of watercolour pencils and you know that you
truly can, armed with a tin of pencils, a couple of brushes and a pot of
water, capture everything you need to create lovely little vineyards or
indeed finished works with the minimum of fuss and effort. So there is
never an excuse for that old, too time consuming or, too scary attitude.
Get out there and give it a go.
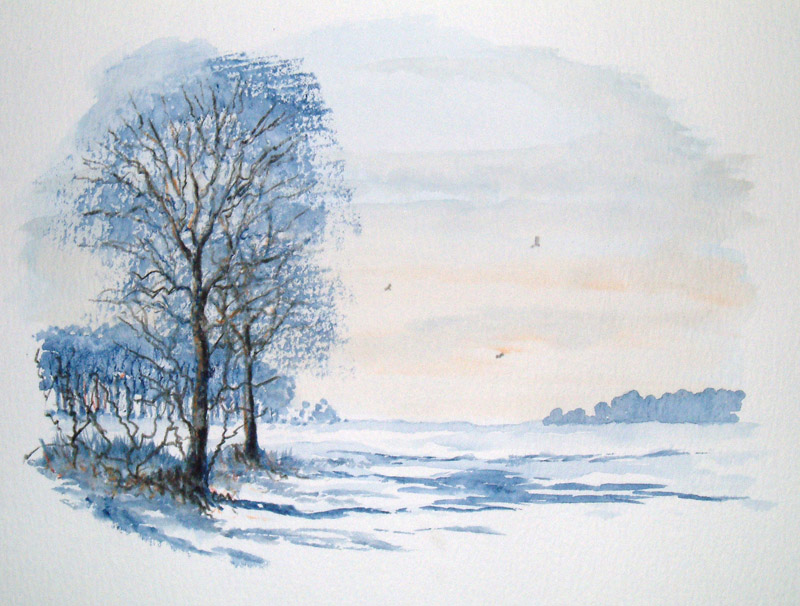
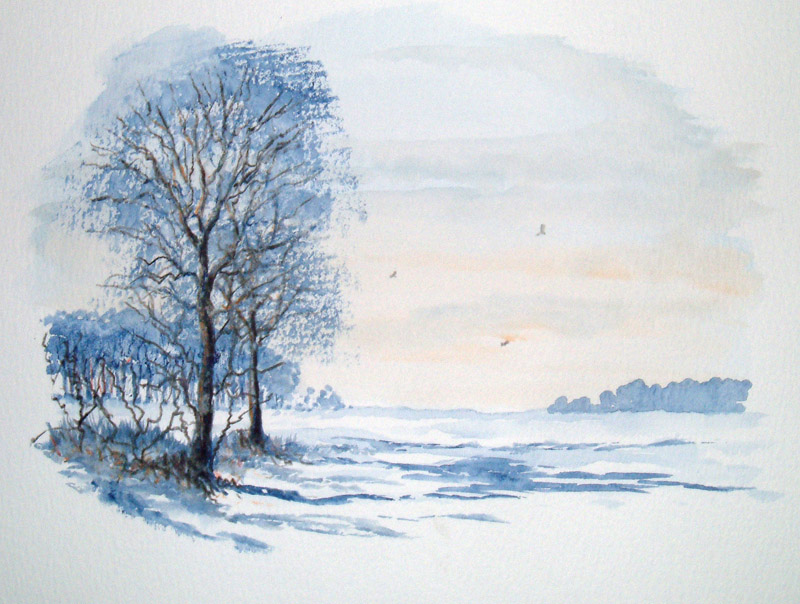
We've covered everything else so it's time for a snow scene.
|
Essential
Supplies
The items you will need to complete this scene are as
follows:-
|
 |
|
|
|
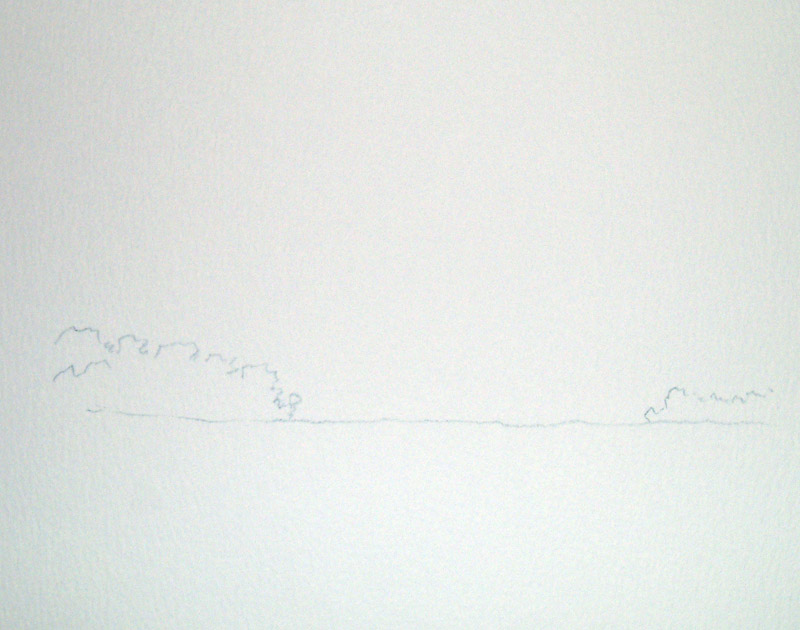
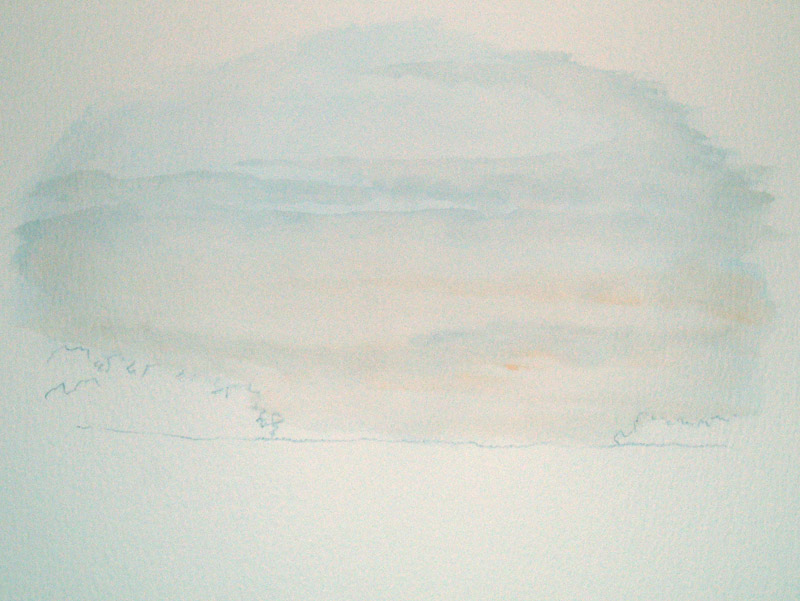
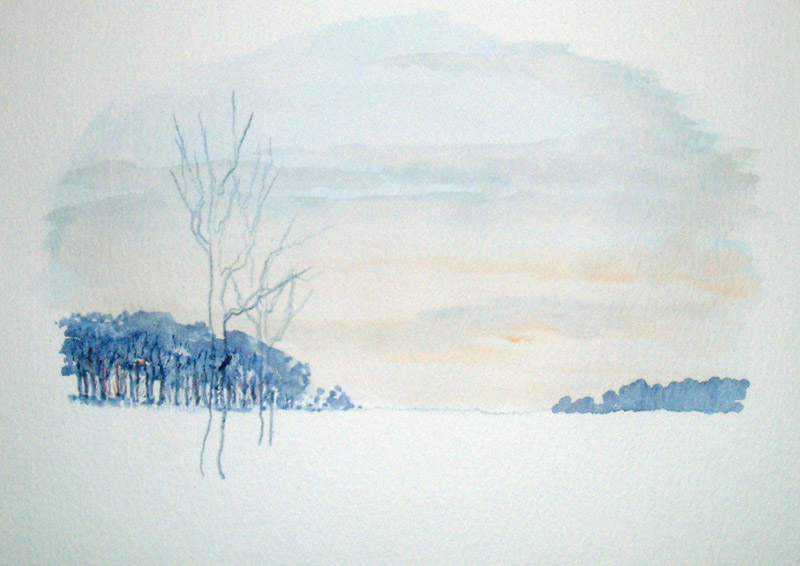
For my outline drawing, which there isn’t a lot of, I am going to use blue-grey
instead of my usual cool grey, it’s a very simple outline marking
my distance line with a clump of trees middle distance, my clump of
trees over to the right for the far distance. |
|
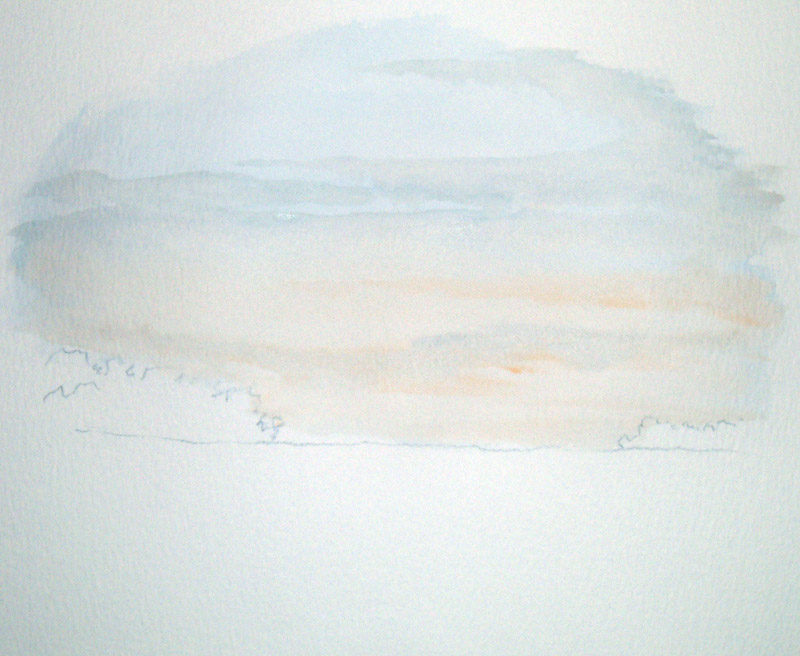
For the sky I want a fairly cool sky so I am going to start off with my
coeruleum blue taking the blue off the pencil with my ¾" wash brush,
whilst this is still wet drop in a little bit of raw sienna onto the
bottom half and then a few touches of blue-grey good and sharp to give
the effect of a few harder clouds. |
|
|
|
Very importantly let it dry before you go any further.
|
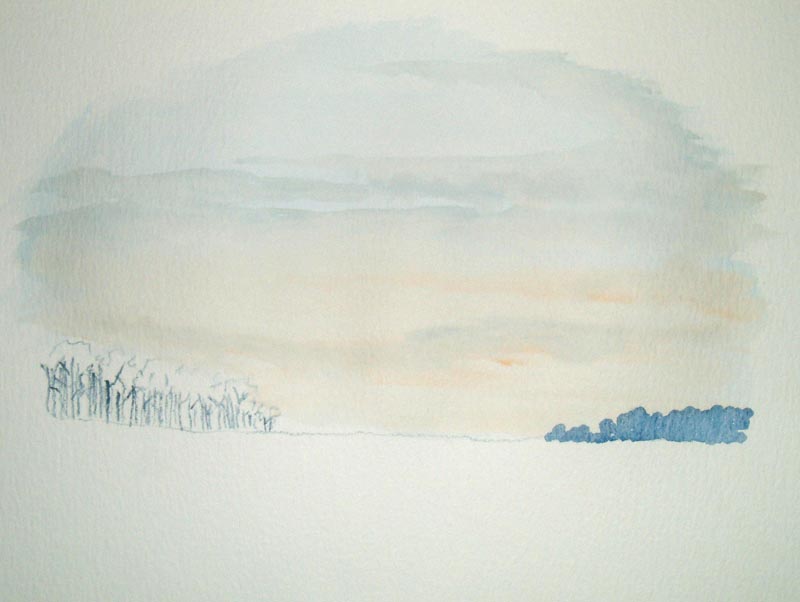
Now for the far distance a little bit of indigo again taking the paint
off the pencil with my wet No.8 round brush and simply stipple on with
the point of the brush creating the effect of the distant trees.
Slightly more complex in the middle distance, going to my blue-grey
I am going to draw the outline of a few tree trunks which are simply a
few sticks.
|
|
|
|
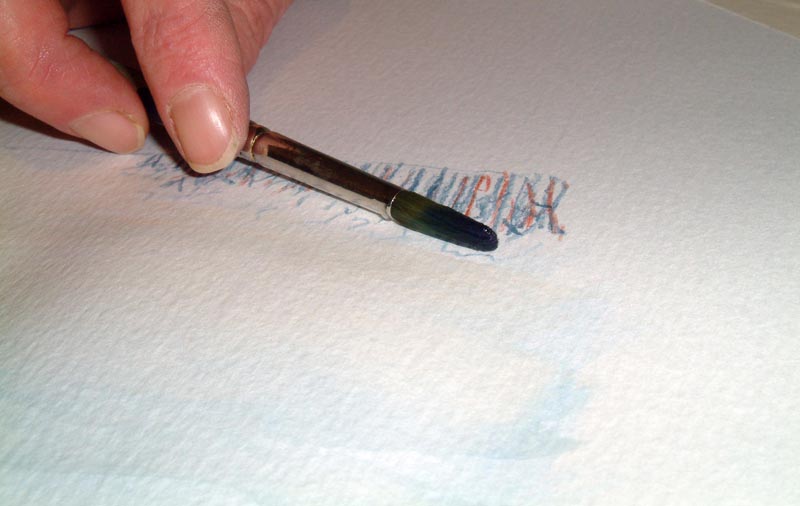
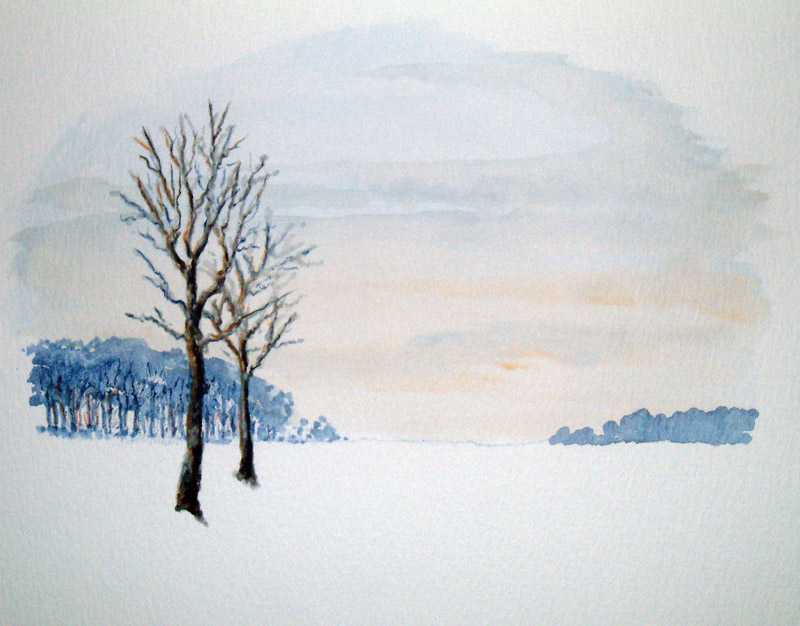
Also a few tiny touches of light red here and there, but not too many
just a few touches to warm up ever so slightly. Back to my indigo I'm
just taking a bit of paint off the pencil with my No.8 round, and use
the side of the brush simply daub on creating the effect of the canopy
of the trees. Again with the side of the brush stroke up from the base
of the trees, merging the colours to give it a rough base.
Now whilst this is still wet I am going to go back in with my pencil,
the blue-grey, and have a few sharper lines here and there just to pull
out a few boughs. Don’t go mad with these, you don’t need too many.
Incidentally, another effect of going in with a dry pencil onto an
already wet piece of paper, is that the line is then immovable no matter
how much water you put on, that line is going to stay.
|
|
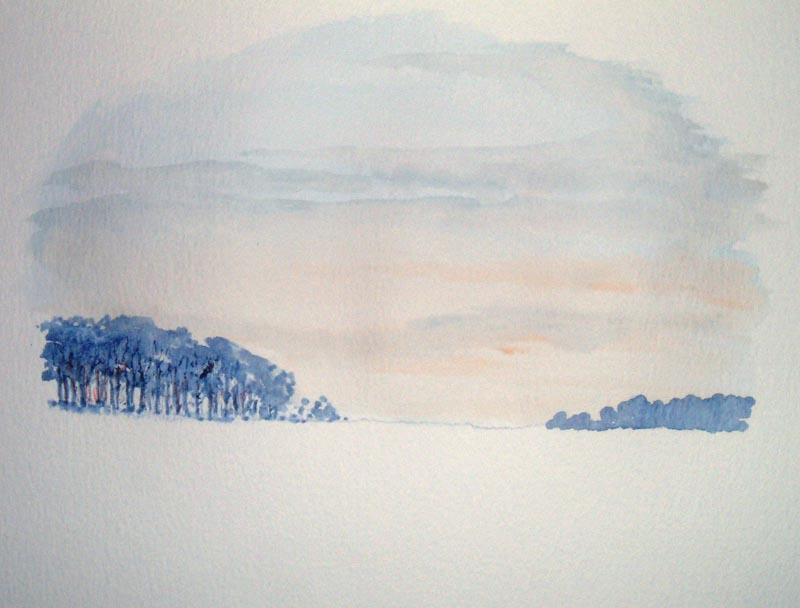
This needs to dry thoroughly before I go back to my pencil to draw that
chunky foreground detail. |
|
|
|
Now time for the main trees and it’s a very quick outline using the blue-grey
as before colouring in with mars black with a touch of raw sienna to
the left-hand side of the trees, just to lighten ever so slightly. As
you may have gathered by that, the light is going to be coming from the
left. At this point when using the black it's an ideal opportunity to
create a few extra twigs, but don’t go mad with loads of twigs, just a
few.
|
It's always useful in a snow scene especially to exaggerate the darkness
of your trees, very effective on landscape, and you will see before I
wet these just how dark those colours really are.
|
|
|
|
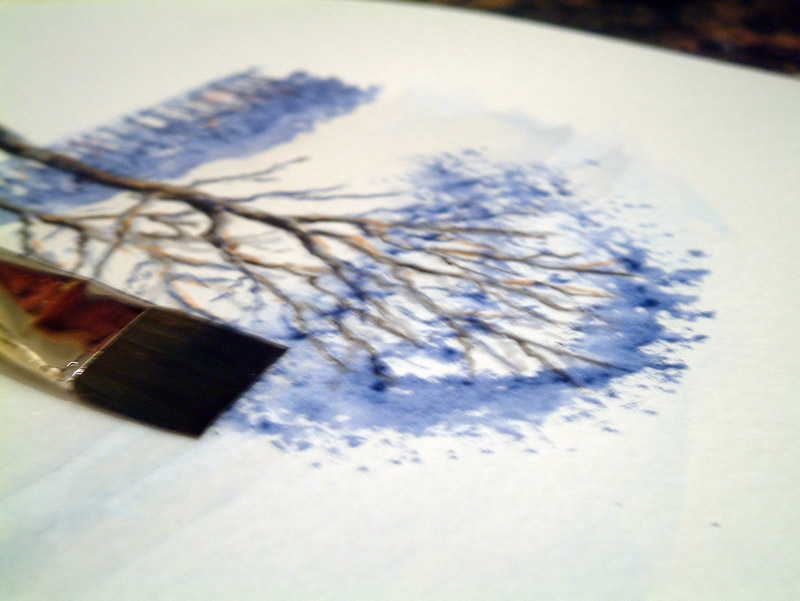
Now with the tip of my No.8 round brush stipple on, rather than
stroking on, so that some of the parts of the trees remain dry giving you
a few hard edges here and there. |
Now for the canopy of the trees, again indigo, and with my ¾" wash
brush take a little paint off the pencil, tap on ensuring that the full
length of the hair is on the paper. So for that, make sure that the metal
of the brush is slapping on the paper.
|
|
|
|
Once done, whilst it's still wet, go in with a bit of mars black and add a
few more sharp pencil lines into the wet paper.
|
|
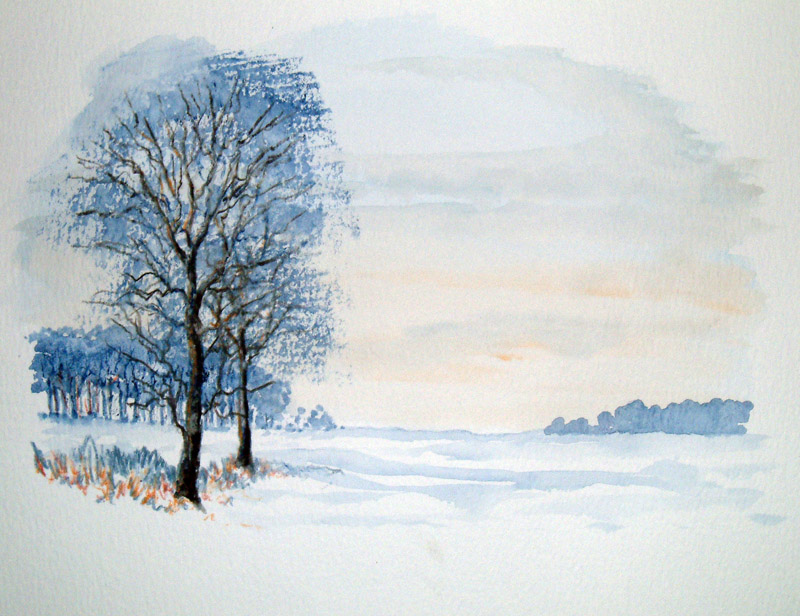
Now time to move forward into the snow. I am going in with a little bit
of indigo still stroking paint off the brush and still using my ¾"
wash brush, YES it’s a snow scene but that doesn’t mean you need masses
of white paper left. A few shafts of darker shading or snow will make
all the more of the white you leave. |
|
|
|
And there is the first few washes of snow using dark rather than white.
Now a few touches of raw sienna and a few strokes of light red just for
a few bits of rough sticking up from the snow here and there. Also a few
touches of blue-grey.
Just a few squiggly bits here and there which we will be wetting down
any minute now. This also adds a little bit of difference in colour and
warms up areas here and there. |
|
Now again back to the indigo and my ¾" wash brush, this time good
and strong for some nice hard shadows cast by the trees. Remembering to
put the shadow on the opposite side to the light side of the trees. At
the same time daubing on with my wash brush into those bits of rough
stuff sticking up from the snow.
Finally, a few hard bits here and there. Using my mars black for a few
bits of swiggly twigs coming out from the foreground from the base of
the trees, press on hard remember just like any pencil the harder you
press on the stronger the mark, I really cannot emphasise that enough.
|
|
|
|
A few ticks in the sky will add a little bit of light. That’s the last
in this series, so for the time being, Merry Christmas and Happy New Year.
|