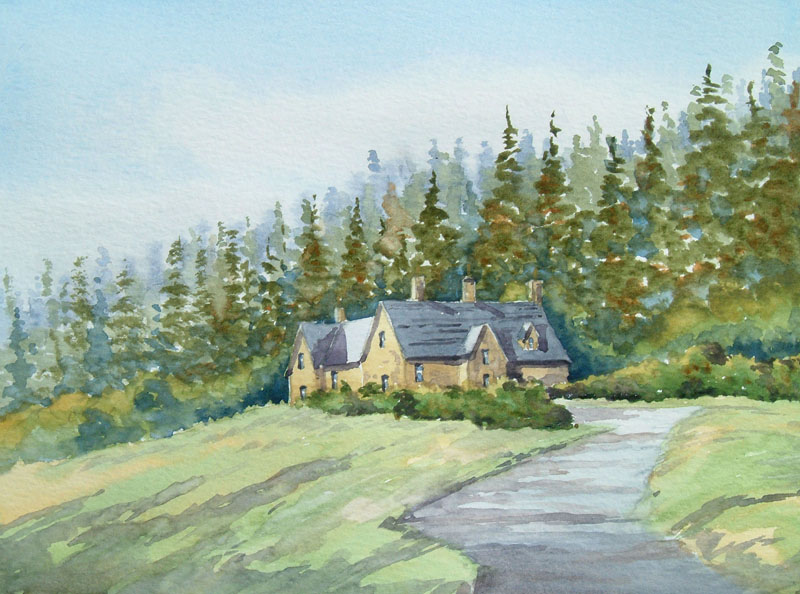
Cragside Cottage
| STAGE BY STAGE | |||||
|
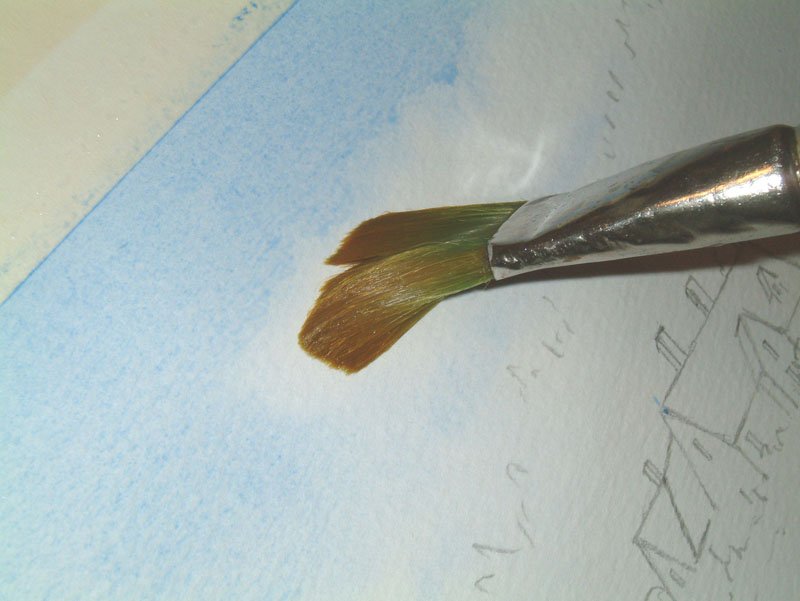
Sometimes in England,
painting out on location can be a difficult task with the vagaries of
the British weather. So it’s always handy to have some watercolour
pencils, quick, easy and less hassle. Also because you just have a
hardback sketch book and a tin of pencils, when the weather changes
unexpectedly simply close your book.
|
|||||
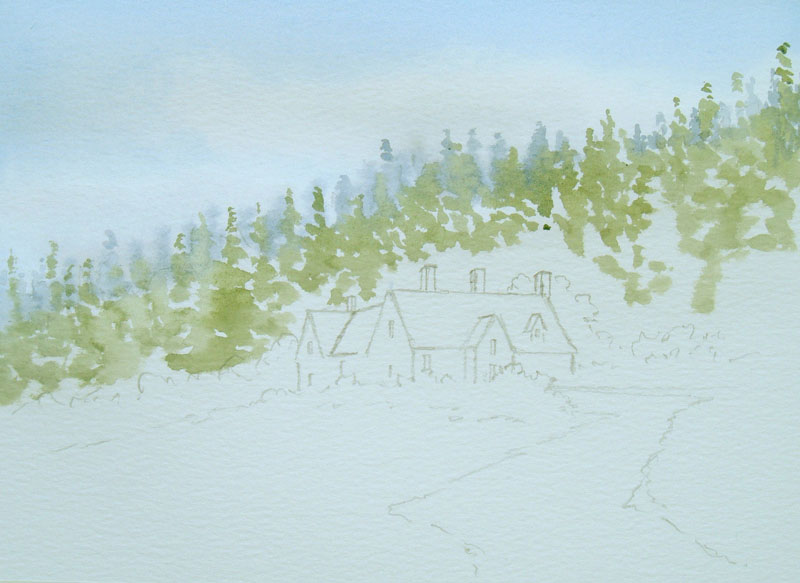
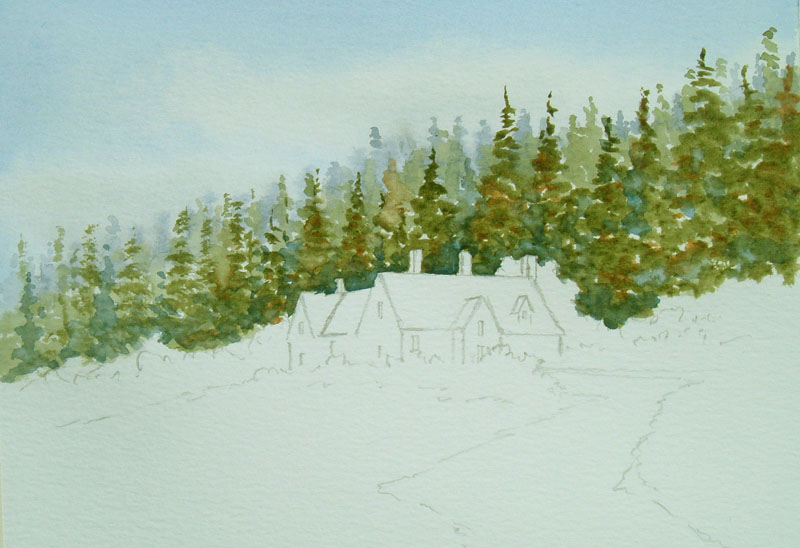
 Here is a watercolour pencil sketch that I did of a little cottage up in
Northumberland on a hillside. It's actually on the Cragside Estate, quite
a famous estate. With watercolour pencils there are some beautiful
vibrant colours so it's easy to capture everything you see. For my
outline drawing I tend to use light grey which is very much like a
normal lead pencil colour, but of course since it’s a watercolour pencil
when you stroke over with a wet brush the outline disappears. Here is a watercolour pencil sketch that I did of a little cottage up in
Northumberland on a hillside. It's actually on the Cragside Estate, quite
a famous estate. With watercolour pencils there are some beautiful
vibrant colours so it's easy to capture everything you see. For my
outline drawing I tend to use light grey which is very much like a
normal lead pencil colour, but of course since it’s a watercolour pencil
when you stroke over with a wet brush the outline disappears.From the outline, very much like a kid's drawing, just colour in. And for the trees in the background I have used the Hooker's green dark and some ultramarine blue along with blue grey, just scribble all the colours in and it's going to look a mess. For the cottage itself I have used raw sienna with a little bit of raw umber scribbled on top. Remember, watercolour pencils are like any other pencil, the harder you press on the stronger the mark. For the greens around, i.e the little bit of field coming up, I’ve used leaf green, Hooker's green and again my blue grey. For the shadow areas such as on the house and on the path, blue grey with a little bit of purple on top. Like I say at this stage it's always going to look a mess, the magic comes when you add the water (I really think I should start a series called 'Just Add Water') because this really is the magic of watercolours. You’ll notice some pen work in amongst the drawing and I’m frequently asked the same question when people view my sketch books, what kind of pen and wash is that? IT'S NOT. Once I’ve added the water to the drawing, section-by-section, and it's dried, I simply get any old black biro and do a few squiggly lines here and there, a few hard edges here and there just to pull out the bits and pieces that I want to emphasise. And now it's back to the studio to make this into a painting. I may change some of the colours here and there and that’s where my prevalence of artist license comes in. We’ll see! |
|||||
|
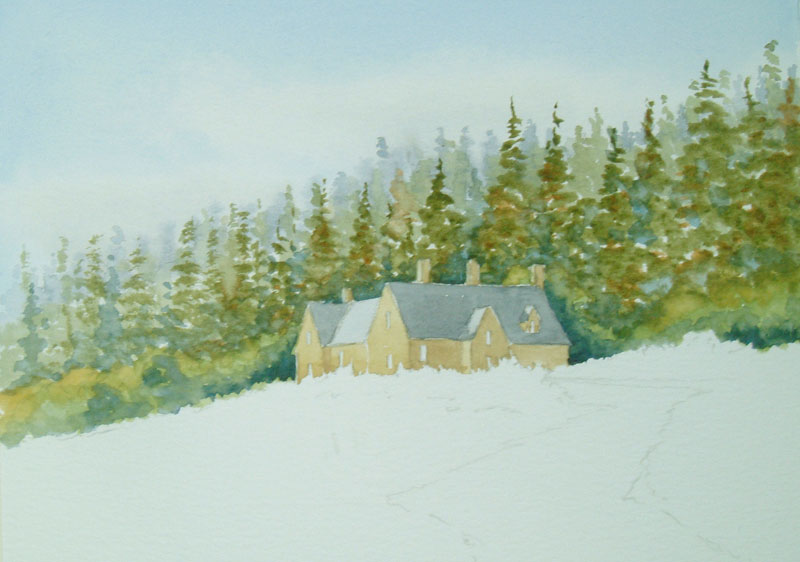
Now here is my outline drawing of the same cottage, I am looking up slightly at it, or that’s the impression I want to give, so notice the angles on the roofs and the chimneys. They are not totally horizontal on the chimneys going slightly down diagonally to the right and sharply down diagonally to the left, as is the roof line. This kind of gives me the idea that I’m looking slightly upwards at it. Notice that the recession in the path is quite a lot wider in the foreground than it is further away. At this point also, I must stress that I have done the outline drawing a lot harder and stronger than I would have normally, because then you wouldn’t have been able to see it. |
||||
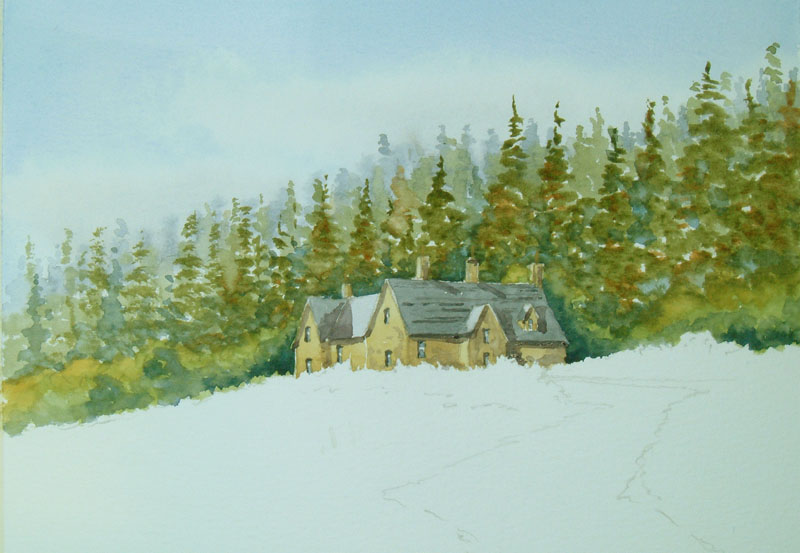
| Now it's time for the sky wash. To be honest there isn’t a lot of it. For the sky wash firstly I add plenty of water and I'm using 1.5" synthetic wash brush and adding cobalt blue and simply wash out my brush, squeezing out the excess water. Once I have taken out the reprehensive amount of clouds, I put a tiny touch of light red into my cobalt blue to add a little bit of cloud shadow into the base of these lighter areas. |
|
||||
|
Notice also that I have gone into the top of the tree line with my sky, that way anywhere I don’t paint in the top of the trees I’m going to see sky wash colour rather than white paper. There, a very simple sky. | ||||
| Whilst my sky wash is still ever so slightly damp, I have again a mixture of my cobalt blue, a touch of light red and with my No.8 round brush, drop in a few touches here and there to give the impression, eventually, of some more distant trees amongst the woodland. Now I have a little Hooker's green and burnt sienna, but plenty of water in it, keeping this fairly weak. Again drop it in, still with my No.8 round brush and at the moment I am still not making any distinct trees. I’m letting the colours run in and merge together. Here is my woodland so far. |
|
||||
|
Now it's time for a bit of Hooker's green and burnt sienna, stronger. And
let's have some chunkier trees in the front part of the woodland, and I’m
still using my No.8 round brush being careful to go around those
buildings. All I am doing is daubing on here and there, I’m not actually painting
a full tree, it's just a few daubs. Even this Hooker's green and burnt sienna mix gets slightly weaker to the left. Now it's time to warm up a little, so I’m dropping in a few touches of raw sienna, well watered down, just to relieve the mass of green. But don’t go mad with this colour, just a few touches. Now finally to give a little more depth, I’m adding some cobalt blue, very well watered down here and there, especially where the clump of woodland meets the building, this will help to drag the building out. And there you go, there’s that big clump of scary woodland done very simply. Now let all that dry before we get into the main focal point, the building. |
||||
| Now for the building itself. I have used a mixture of one of the new Charles Evans colours which is called 'sand'. Just a tiny touch of raw sienna into the sand mix. The sand is a very useful colour to lighten other colours. Then add a tiny touch of raw umber to darken it slightly for what is eventually going to be the darker side of the cottage. Note that I’m still using my No.8 round brush for all of this. For the roof, again my cobalt blue mixed with a touch of light red. This is very simply block painting. Don’t fiddle about with loads of details. We'll give the whole thing more life when it comes to putting the shadow in. For the lighter side of the roof, this is the same colour mix with a heck of a lot more water in it. In fact, it's nearly all water. |
|
||||
|
Whilst all this is drying I’m going to do a
few bits of bushy bits of trees, "bushy bits" of course being a technical
term, these are different to the main clump of woodland. I’m using a
mixture of Hooker's green with yellow ochre, so it's a lighter green. And this
is again a bit of a frame for the building. I’m just stippling on with
my No.8 round brush with a tiny touch of yellow ochre on top of these as
they go off to the left-hand side. Now again where these bushes join the building, I’m dropping in a touch of my blue. This is going to really help pull the building out. |
||||
|
Now it's time to give the building some
life in the form of windows and shadow. For windows, you don’t need to
see sash windows and net curtains behind it. It's two blobs with the tip
of my No.8 round brush using a mixture of cobalt blue and light red,
leaving a little white dot in between the two blue blobs, as you can
tell, very technical. For my shadow which I need to be fairly warm, I am using a mixture of cobalt blue, alizarin crimson with a touch of burnt sienna to tone down the brightness of the purple. Notice how this brings the whole thing to life. It's fairly clear, because of the strength of colour, where I have put this shadow. And there, that’s the scary bit done. |
|
||||
|
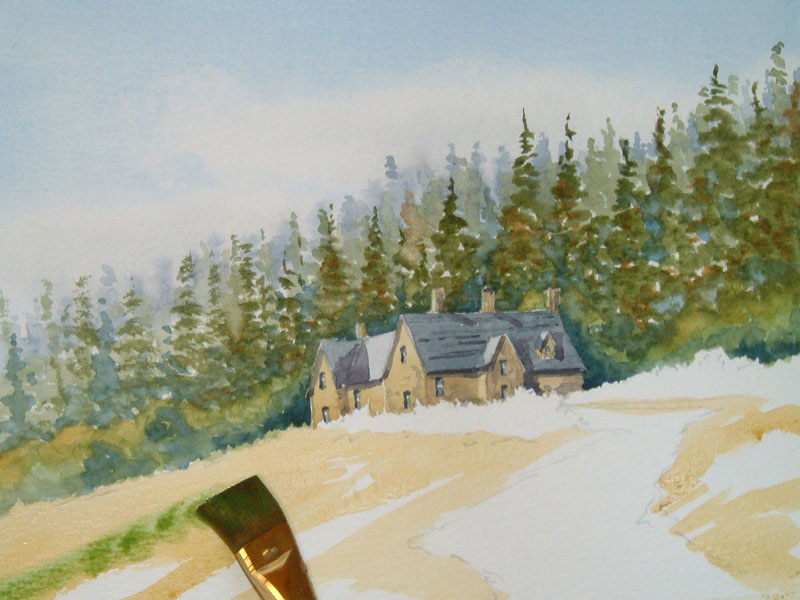
Now it's time for a big bit. I’ve changed to
my ¾" wash brush, starting off with a little bit of yellow ochre,
plenty of water in it here and there. Now whilst the yellow ochre is still wet, a little bit of Hooker's green and yellow ochre mixed, drop it in and let the colours merge. |
||||
|
Whilst this is still wet a little bit of cobalt blue and light red,
plenty of water into this, and drop in the path again using my ¾"
wash brush, simple strokes, not dipping into the paint again, and it
gets weaker as I go further away, commonly known as tonal recession. Let
this dry before we put any more detail in. Whilst this lot is drying let's have those bushes around the side of the house. Again Hooker's green and yellow ochre followed by Hooker's green and burnt sienna. All whilst it's still wet. Then drop a few tiny touches of burnt sienna just to warm it up a little bit. Obviously we are going to need a little bit of shadow in between the two, and again a mixture of cobalt blue, alizarin crimson with a touch of burnt sienna. |
|
||||
|
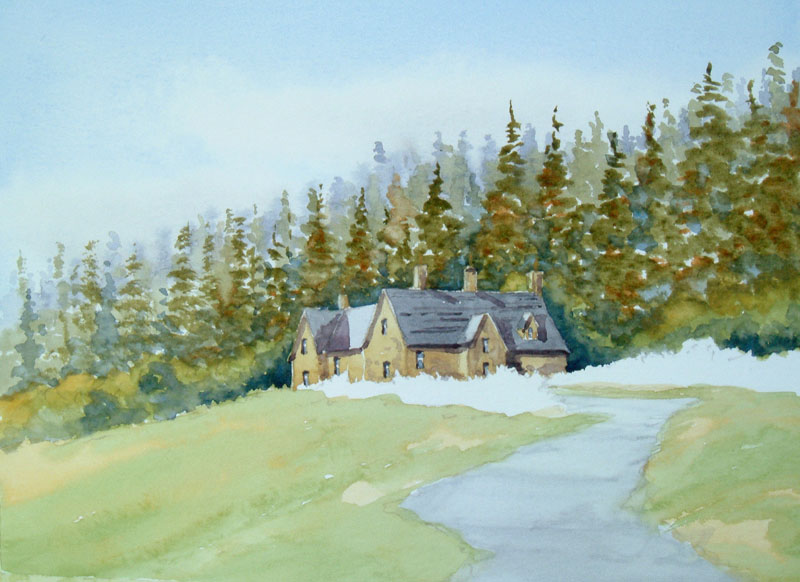
Now a few touches of light red into the path
here and there will warm that up slightly. Now for some horrifically scary bits to finish off the painting, i.e. shadow. Invent something out of shot, for instance, let's have a few trees over to the left casting a shadow. And there we go a lovely little picture without being too complex. |
||||