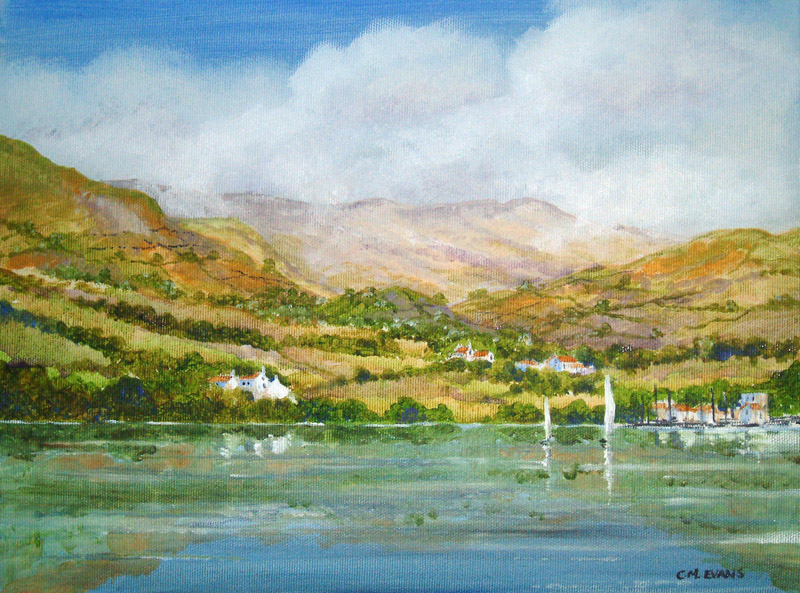
Coniston Acrylic
| STAGE BY STAGE | |||||
|
For
this article we are moving into acrylics and this one that I am using is
a fairly new medium, it's actually called System 3D. You can paint it
in a very thick and chunky style exactly like oils. Treat it like oils,
even paint with a palette knife, but of course just using water it's less
messy and will washout of your brushes very easily. Also it dries very
quickly, I suppose you could say it’s a bit like a water soluble oil.
|
|||||
|
|
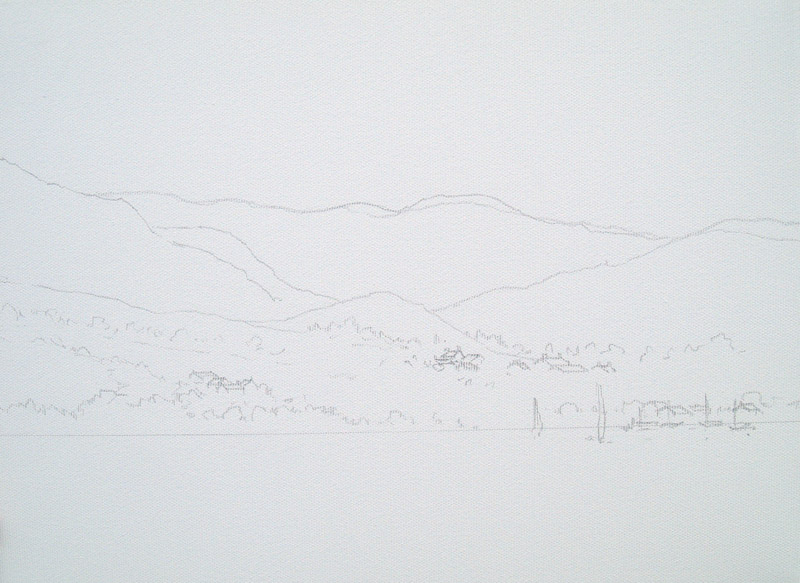
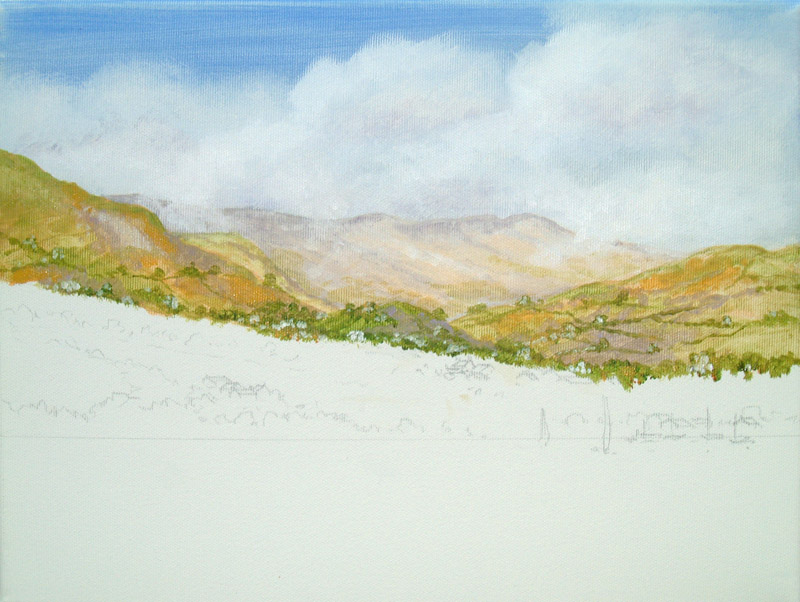
So, to the painting. First of all, it was started off as a watercolour
pencil sketch in my sketch book, which is just as well because on the day
those clouds looming up behind the hills turned into a horrendous day
and it rained constantly. I’ve used various tones of my Hooker's green and
viridian green pencils, blue-greys and purples in the hillsides and
trees. For the very far distant hill I just stroked over with a raw
sienna pencil to give it a tiny touch of light lifting it in the
distance. As usual once the water had been added and the drawing had
become a little painting, I then went over with my black biro just a few
squiggly lines here and there to pull out a few details and the
suggestion of a few masts with just a straight line. Of course a lot of
these colours are probably going to change slightly when I get back into
the studio. |
||||
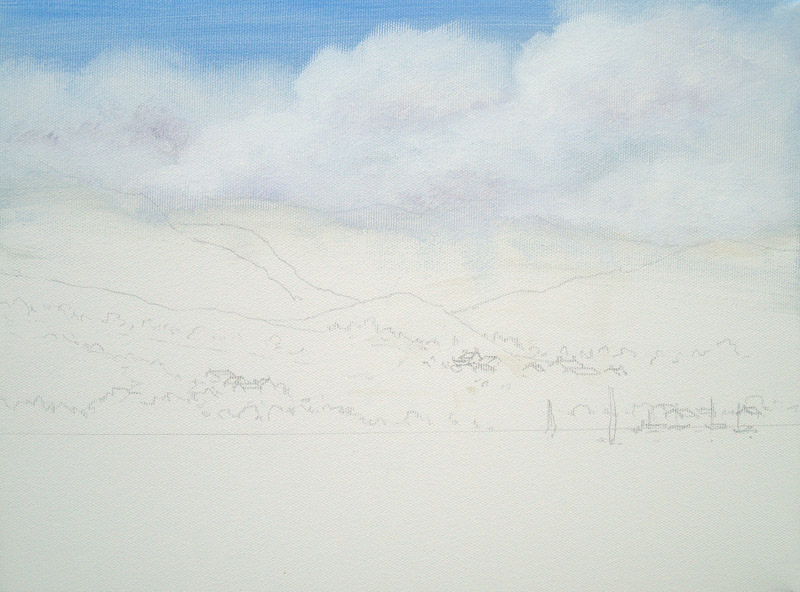
| With System 3D it's very very easy to paint exactly like oils, which is what I’m doing on this stretched canvas. The difference between oils and acrylics is that with acrylics, unless you put a slow drying medium into it, it's going to dry exceptionally quickly - so paint quickly. Whereas, with oils you can take all day and you can be certain that the oil will still be wet on day two. And in this I don’t want my sky to be too thick and chunky, get thick and chunky as you come further forward into detail. So using a large 1.5" wash brush and whacking in ultramarine blue mixed with titanium white, a little bit of yellow ochre in the bottom and then again blue and titanium white, stronger on the white. Then all I’m doing with a piece of kitchen roll, working very quickly, is to stroke over and merge the colours together slightly before finally adding some fairly hard clouds, again using titanium white but this time much much stronger with hardly any water in it. I am doing this without any drying medium in the paint, this way you will find by the time you finish the sky it will be more or less dry. I am putting a tiny touch of magenta into my cobalt blue into the shadow areas to make a purple to make the shadow areas underneath my white blobs of cloud. I’ve used purple instead of anything too dark so that this gives it a slightly warmer colour. |
|
||||
|
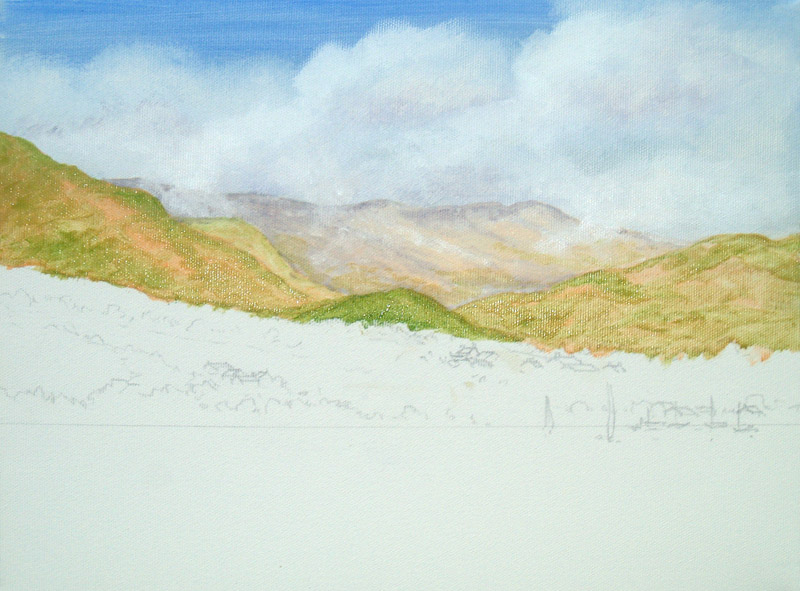
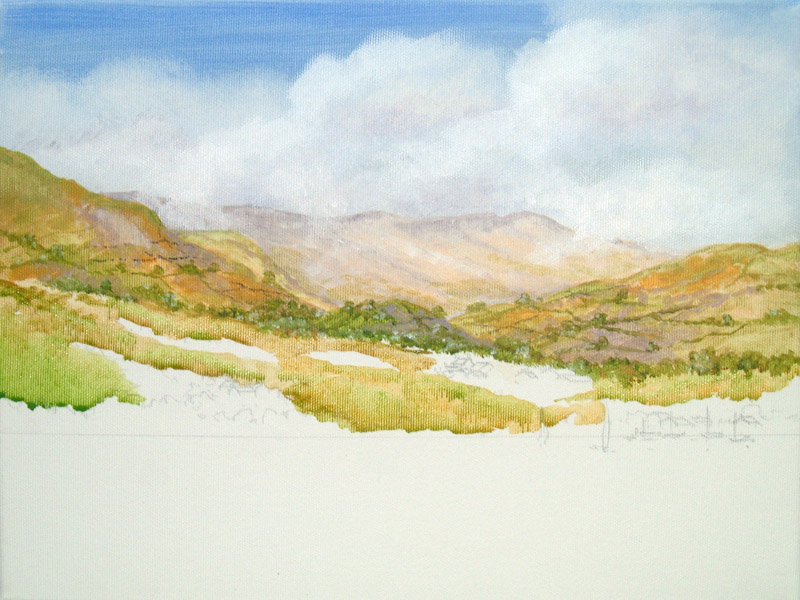
And when the sky is finished I can just see the outline drawing of the
top of the hills. For the very distant hill I am starting off with a bit of raw sienna with a bit of titanium white in it, very simply to start out block in. Leave this to dry which again is not going to take very long, before going on with the various shadows which will give it the shape. Again I don’t want to make this too thick and chunky because it's further away, so I’ve got my mixture of magenta this time with Payne's grey giving the distant hill a little bit of shape with the addition of the shadow. Quite often for these areas I used my finger to smooth in the areas rather than have sharp edges. And finally a few touches of my titanium white here and there, just to lighten up a few areas and break the profile of the hills into the sky giving the impression of the clouds coming down into the hills slightly. |
||||
| I’m using a ¾" wash brush now and the colours are getting slightly stronger as I come further forward. First of all I am blocking in with a few bits of raw sienna mixed in with a small touch of titanium white. Now whilst this is still slightly damp, add a touch of sap green to my raw sienna stroking down here and there leaving little bits of raw sienna showing through. This is my first wash on the hills before going into any detail. It looks very lumpy and messy at the moment but we'll get over this in a minute when we start to go in with a bit of detail. With my sap green and quite a lot of raw sienna, do that little hillock in the centre. Leave then to settle for a while before going in with some hard edges to add the impression of detail. |
|
||||
|
Now a few touches again of my purplely colour, magenta and a tiny touch of
Payne's grey. What I’m going to do is the tiny impression of distant trees here and there, I’m adding a tiny touch of burnt sienna into my sap green. Incidentally, did you know that at this stage that if you mix burnt sienna and raw sienna you make half baked sienna? I must add that, that was a joke, don’t take me seriously! Using a No.8 round brush, simply daub on here and there giving a few lumps and bumps and this will give you the impression of distant wooded hillside. Still with this same colour and the same brush start to add a few lines here and there this will give the impression of hedges and woodland in the middle distance. In amongst all these trees a few touches of yellow ochre here and there just to lighten slightly. |
||||
|
Now I’m adding a touch of raw sienna coming further forward into the
lakeside areas, then a few touches of sap green here and there leaving
lots of the raw sienna still showing through. All this is done whilst it
is still quite wet.
|
|
||||
|
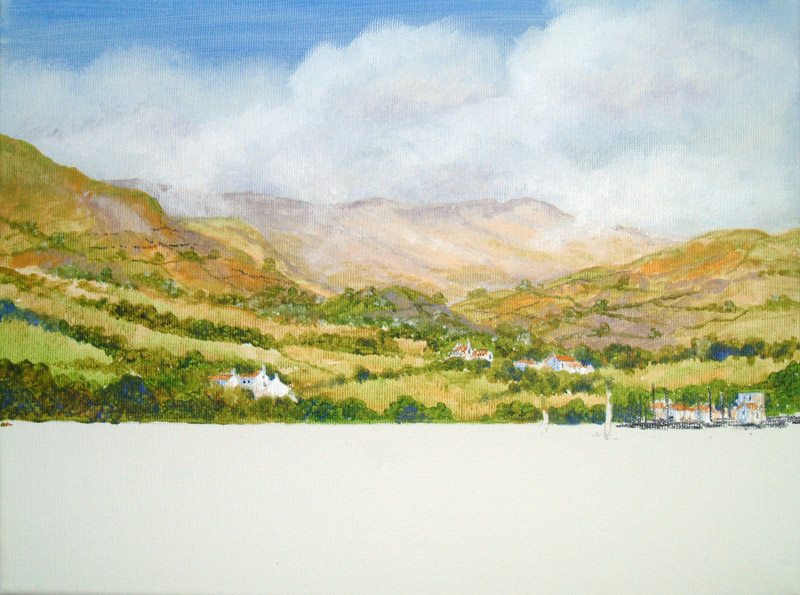
Now you may be wondering why I left so many gaps in that foreground
area, that's because we are going to have some big chunky trees coming
down. Again I’m using my No.8 round brush and I’ll have a big bank of
these trees rolling down the hillside. For this I am using sap green
mixed with my burnt sienna fairly strong. I haven’t put a lot of water into this mix because at this stage I want everything to be fairly big, thick and chunky. I’m also at this stage adding a few touches of the sap green just by itself to give me some brighter green here and there. |
||||
|
In amongst these
trees I am dropping a mix of ultramarine blue to darker areas here and
there. Now for a few tops here and there I’m adding a little bit of
burnt sienna with a very small No.3 rigger. Burnt sienna because it’s a
very good pan tile roof colour and will let the building show in amongst
all those trees and bushy bits. And they are just literally a few blobs
here and there. Most of these buildings I’m going to paint white using my
titanium white, here and there in the titanium white a tiny touch of my
ultramarine blue which will give me white in shadow. Now a few tiny touches of raw sienna here and there will just warm up slightly various areas. A few tiny touches of Payne's grey will give me the impression of a few windows and remember at this kind of distance you don’t need to see sash windows and net curtain behind. There is a little bit of a jetty or marina type thing (which is of course is a technical term) which I’m doing still with my small brush and Payne's grey with a touch of my magenta. |
|
||||
|
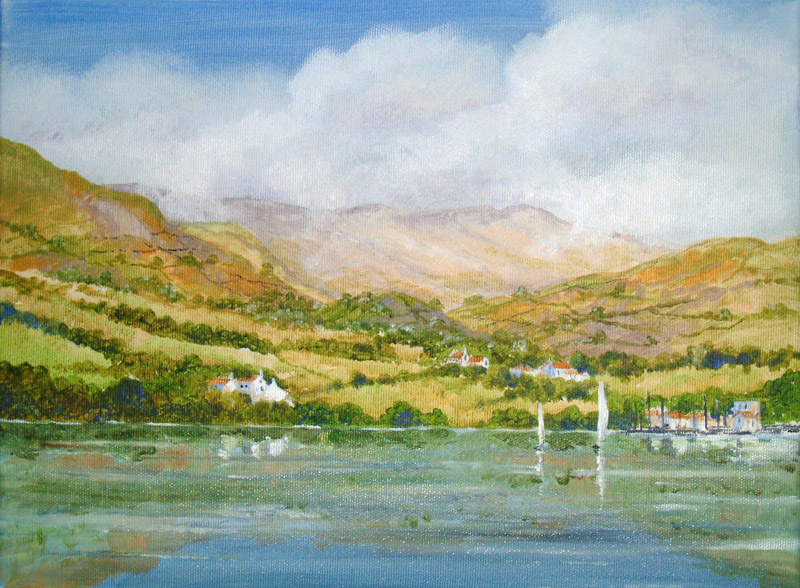
Now for the water and
the water is very easy: ¾" wash brush, a little bit of
ultramarine blue, little bit of titanium white and a touch of my sap
green. Make sure you use good horizontal strokes right across the
canvas. Now whilst this is still slightly wet, a touch of my sap green
and burnt sienna and let's get some reflections on there. First of all I am putting a fairly strong green line where the water meets the land and then spread it out a little bit, giving the impression of reflected trees. Now much weaker, I’m dropping in my mix of sap green and burnt sienna again giving the impression of my distant hill reflecting. Followed by a mix of raw sienna and titanium white mixed, basically just repeating a lot of the colours that are in the hills into the water. |
||||
|
Finally, into the water I need to add a few stronger shafts of light here
and there, for this I am using my titanium white and my ¾" wash
brush. |
|
||||