|
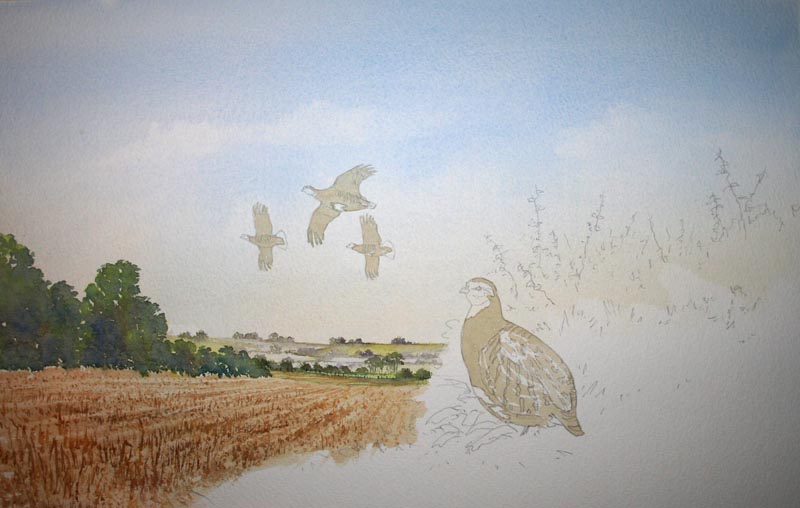
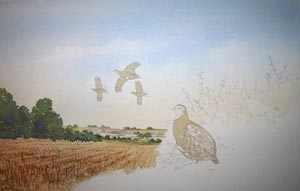
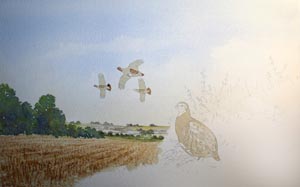
Step 1 :
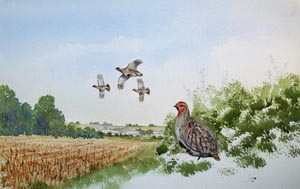
As you will see in this first image. I have done my
outline drawing and quickly stuck the landscape behind in.
I firstly used cobalt blue for my sky wash with a tiny touh of yellow
ochre in the base of the sky using my 1.5” Dalon wash brush, then suck
out a few weak clouds.
For the distant hills I firstly added a mixture of cobalt blue and light
red very weak and then dropped in a little bit of hookers green mixed
with yellow ochre for a bit of difference in the fields. For the distant
trees, again the same colour mixes one on top of the other. For the
bigger nearer trees, using my ¾” sapphire wash brush drop in a very weak
mixture of hookers green and yellow ochre and then again a mixture of
cobalt blue and light red, which is virgin on purple. For the stubble
field, I firstly washed over with yellow ochre and then a few stippley
bits of raw umber, flicking some bits up here and there with both my ¾”
wash brush and my No 3 rigger both of which are sapphire brushes. Hey
presto backdrop done.
This in all took about 20 minutes.
So to start with the birds I have firstly with no messing and using my
no 8 round sapphire brush, used a mixture of the Charles Evans British
Sand with a tiny touch of raw umber in it and lots of water. Just block
in all of he birds. |
|
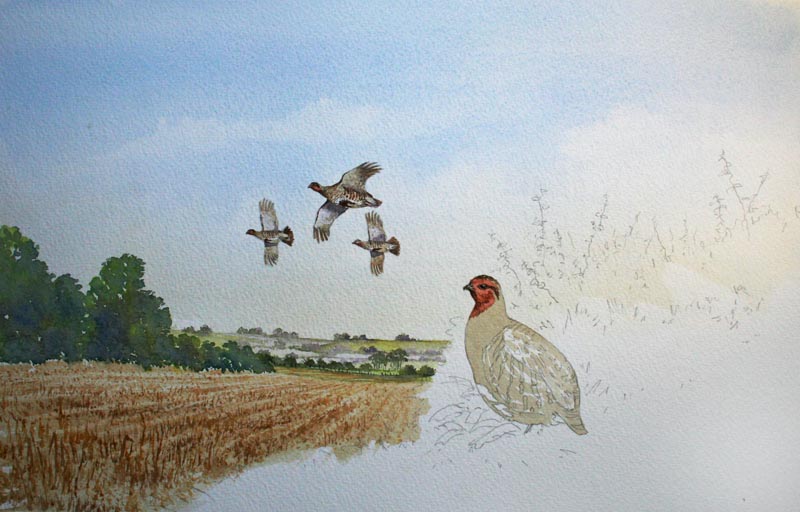
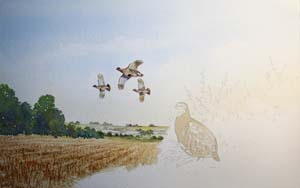
Step 2 :
For the flying birds I used a little bit of raw umber with
a tiny touch of burnt sienna for the tail feathers and also the markings
around the body again using my no 8 round brush, remember you don’t need
to much detail on these birds as they are the furthest away.
For the heads I used light red well watered down. |
|
 |
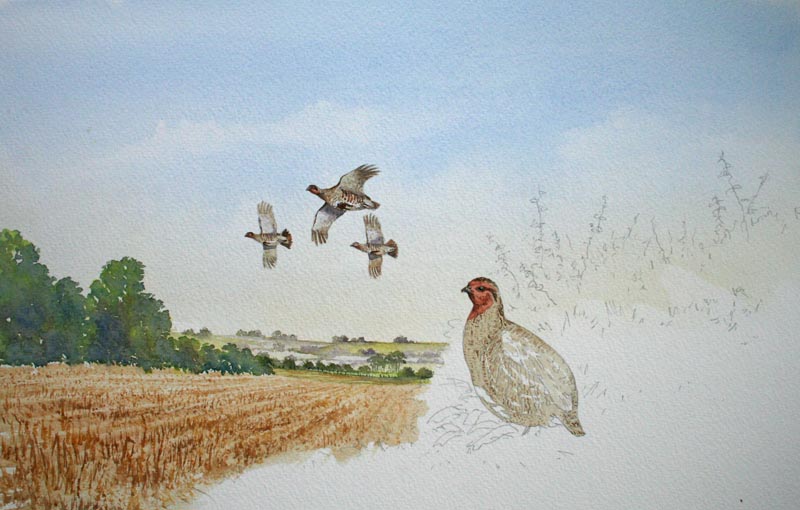
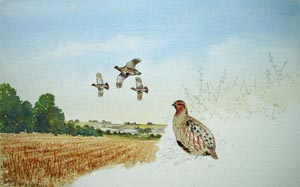
Step 3 :
For he very characteristic bar on the chest area I have
used again my raw umber and burnt sienna mix, but made it a lot darker.
And for a few speckles on the body, just raw umber with the tip of my no
8 round brush, just stipple on.
For a little bit of tone on the wing tips use a little bit of cobalt
blue with light red.
Finally for the shadow under the wings, on the head and darkening the
wing tips, I used cobalt blue, alizarin crimson and a tiny touch of
burnt sienna, being careful not to make this too strong. It literally is
a case of just a few stippling on bits here and there and the shadow to
give shape that made these birds look far more detailed than they really
are. |
|
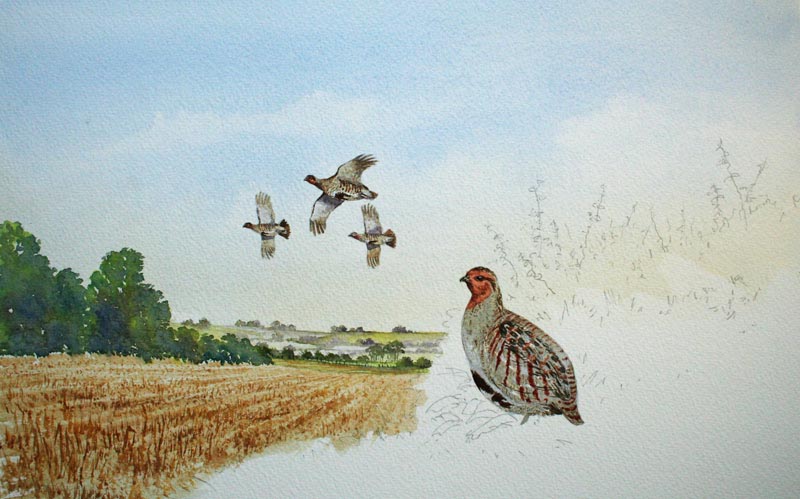
Step 4 :
For he big main bird I literally just worked downwards
starting with the head. The main part of his head is done with light red
and then a tiny touch of raw umber fairly strong speckling on the very
top of his head. Whilst I was painting this I left the eye totally white
being careful to go around it, afterwards I filled this in with a
mixture of French ultra marine blue and burnt sienna to make a black.
But notice I left a tiny little speckle of white paper towards the top
of his eye. This just adds a little bit of life.
For the beak I washed it in with a mixture of the sand with a tiny touch
of cobalt blue, then again a mixture of my black for a little bit of
shape to the beak. For the brown bits around the eye and coming down the
side of the head, again this is just raw umber, but fairly strong. For
all of this work on the head, I use my No 8 round brush. |
 |
 |
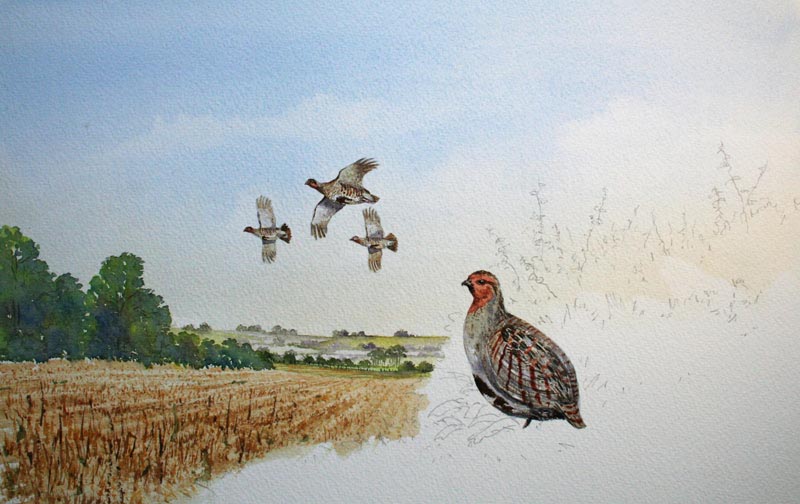
Step 5 :
In the next image I have simply speckled on a few bits of raw
umber coming down the breast and neck varying the strength of the raw
umber here and there again all of this was done with my No 8 round. Make
sure that you put these speckles on going in the direction that you want
the shape of the bird to be. Take for instance the top of the back, I
have curved them around slightly to give the impression of a round back. |
|
Step 6 :
Now its time for all those distinctive markings that make this a
partridge. For the red bars coming down the side of the body and the
wings, I have used burnt sienna with a touch of light red mixed in.
Keeping it fairly strong. For the breast markings I have used raw umber
mixed with quite a lot of burnt sienna to make a sort of chestnutty
colour. Remember to vary the depth of the breast markings as it curls
further round and underneath the body.
|
 |
 |
Step 7 :
In the wings I have made a sepia which is my raw umber
mixed with ultra marine blue and its literally just a few blobs but
notice here that I have left a few stokes of white paper showing through
these are a few white shafts of the feathers. |
|
Step 8 :
In this next stage I have put some of the burnt sienna and
light red mix into the tail area as bars again and underneath the tail I
have put a few strokes of my sepia, which is raw umber mixed with ultra
marine blue, at this stage I am still using my no 8 round brush.
Now its time for the shadow and to give a little bit of shape. I have
just used cobalt blue and light red, with my no 8 round brush, a little
bit of shadow underneath the head, underneath the main body, underneath
the tail and a very thin stroke to denote the wing.
Notice at this stage I have put quite a dark shadow underneath the body
to the leg, the leg of course was painted with the sand colour again.
And that’s the birds done, all the difficult stuff finished. |
 |
 |
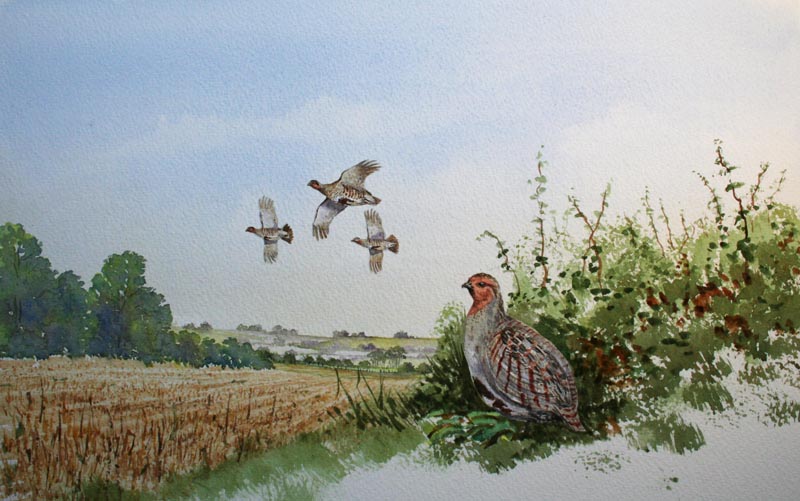
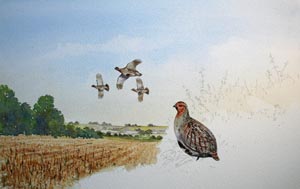
Step 9 :
For the bushy bits that the main bird is standing in, I
have started off with yellow ochre mixed with hookers green, and with my
¾” wash brush just literally bash this on, fairly loose and fairly wet.
Leaving white bits of paper showing here and there. Now its important to
let this dry before going any further.
|
|
Step 10 :
I have done the twigs with raw umber and used my No 3
rigger brush to literally pull up a few sticks, and then put some burnt
sienna and raw umber daubs here and there in the bushy bits. For the
leaves on the twigs I have used the corner of my ¾” wash brush and just
tap on a few bits here and there, for this I used a mixture of hookers
green and burnt sienna.
Now, various mixes and strengths of hookers green and burnt sienna
tapped into the bushes here and there. To give more depth at this stage
I also flicked up a few grasses going into the stubble field to split
the two areas. For all of this I still use my ¾” wash brush. |
 |
 |
Step 11 :
For shadow and depth around the partridge and into various
areas of the bushes here and there I used ultra marine blue and burnt
sienna, much heavier on the blue.
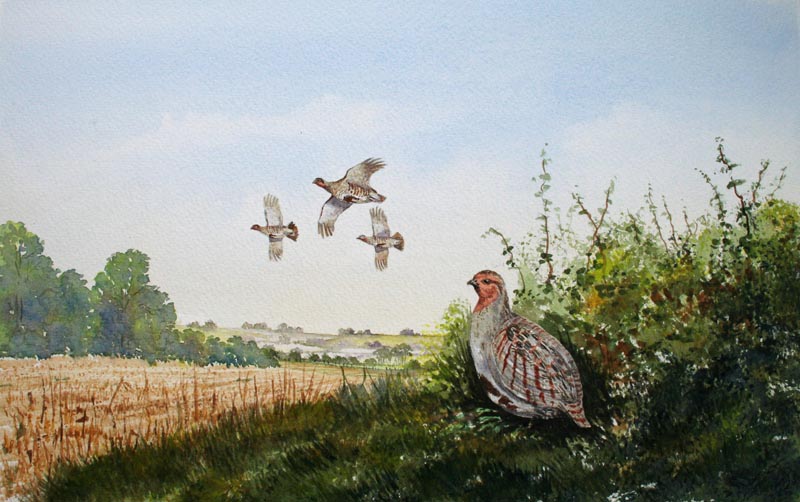
There you go, you would have looked at that normally then thought it was
far more complex than this. But as I have said countless times can you
see how useful the Charles Evans Sand colour is, far more useful than
just painting beaches. |