|
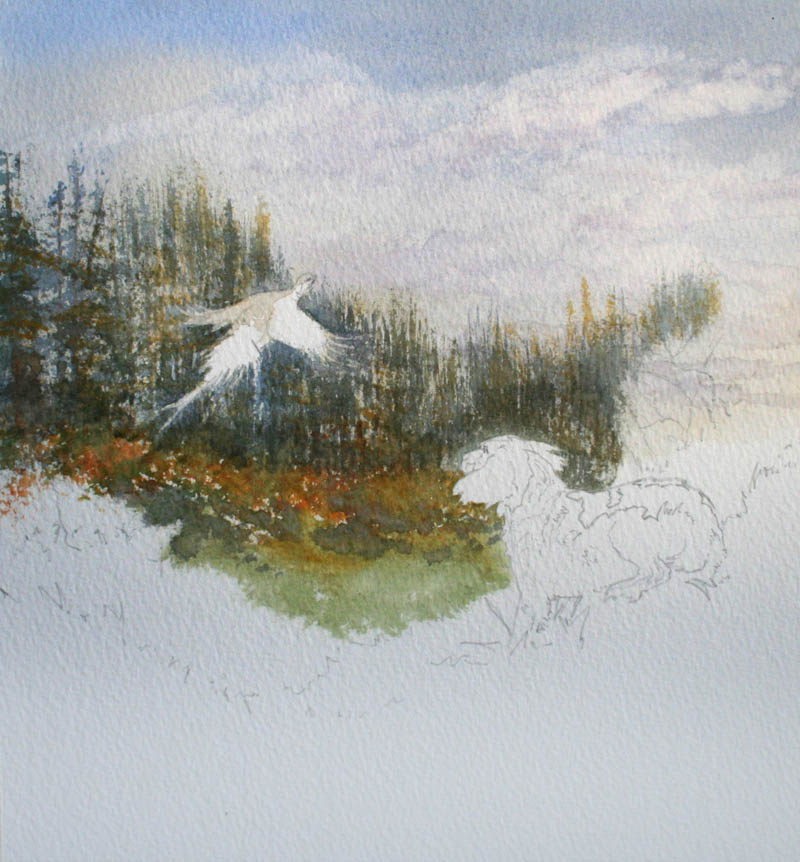
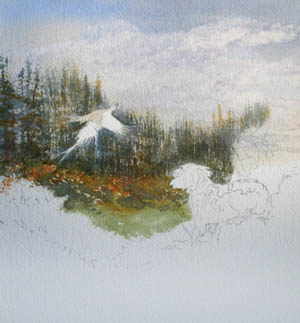
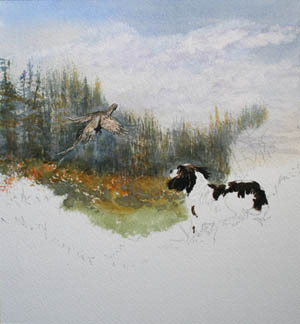
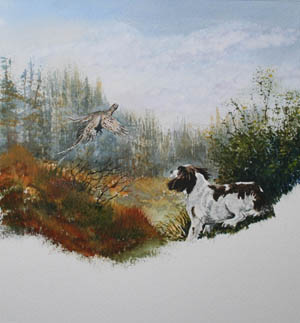
Step 1 :
In this first image of a spaniel having fun I seem to have done a lot,
that’s because all this other stuff is the usual type landscape and what
I am focusing on the dog and the pheasant. But as for the usual
landscape after doing my initial outline drawing I did my sky using
cobalt blue the put a tiny touch of light red onto the cobalt blue into
the base of the clouds once I had sucked out the clouds using my 1.5”
wash brush.
For the trees, I used my ¾ “ flat wash brush and dropped in cobalt blue
mixed with light red using the sharp of my ¾” brush to get the shape of
a plantation forest. On top of this I dropped in a little bit of hookers
green mixed with burnt sienna then a few touches of blue here and there
all whilst it was still wet.
For the rough growth underneath the trees I used firstly yellow ochre
followed by burnt sienna followed by hookers green mixed with burnt
sienna all nice and wet and sloshy. |
|
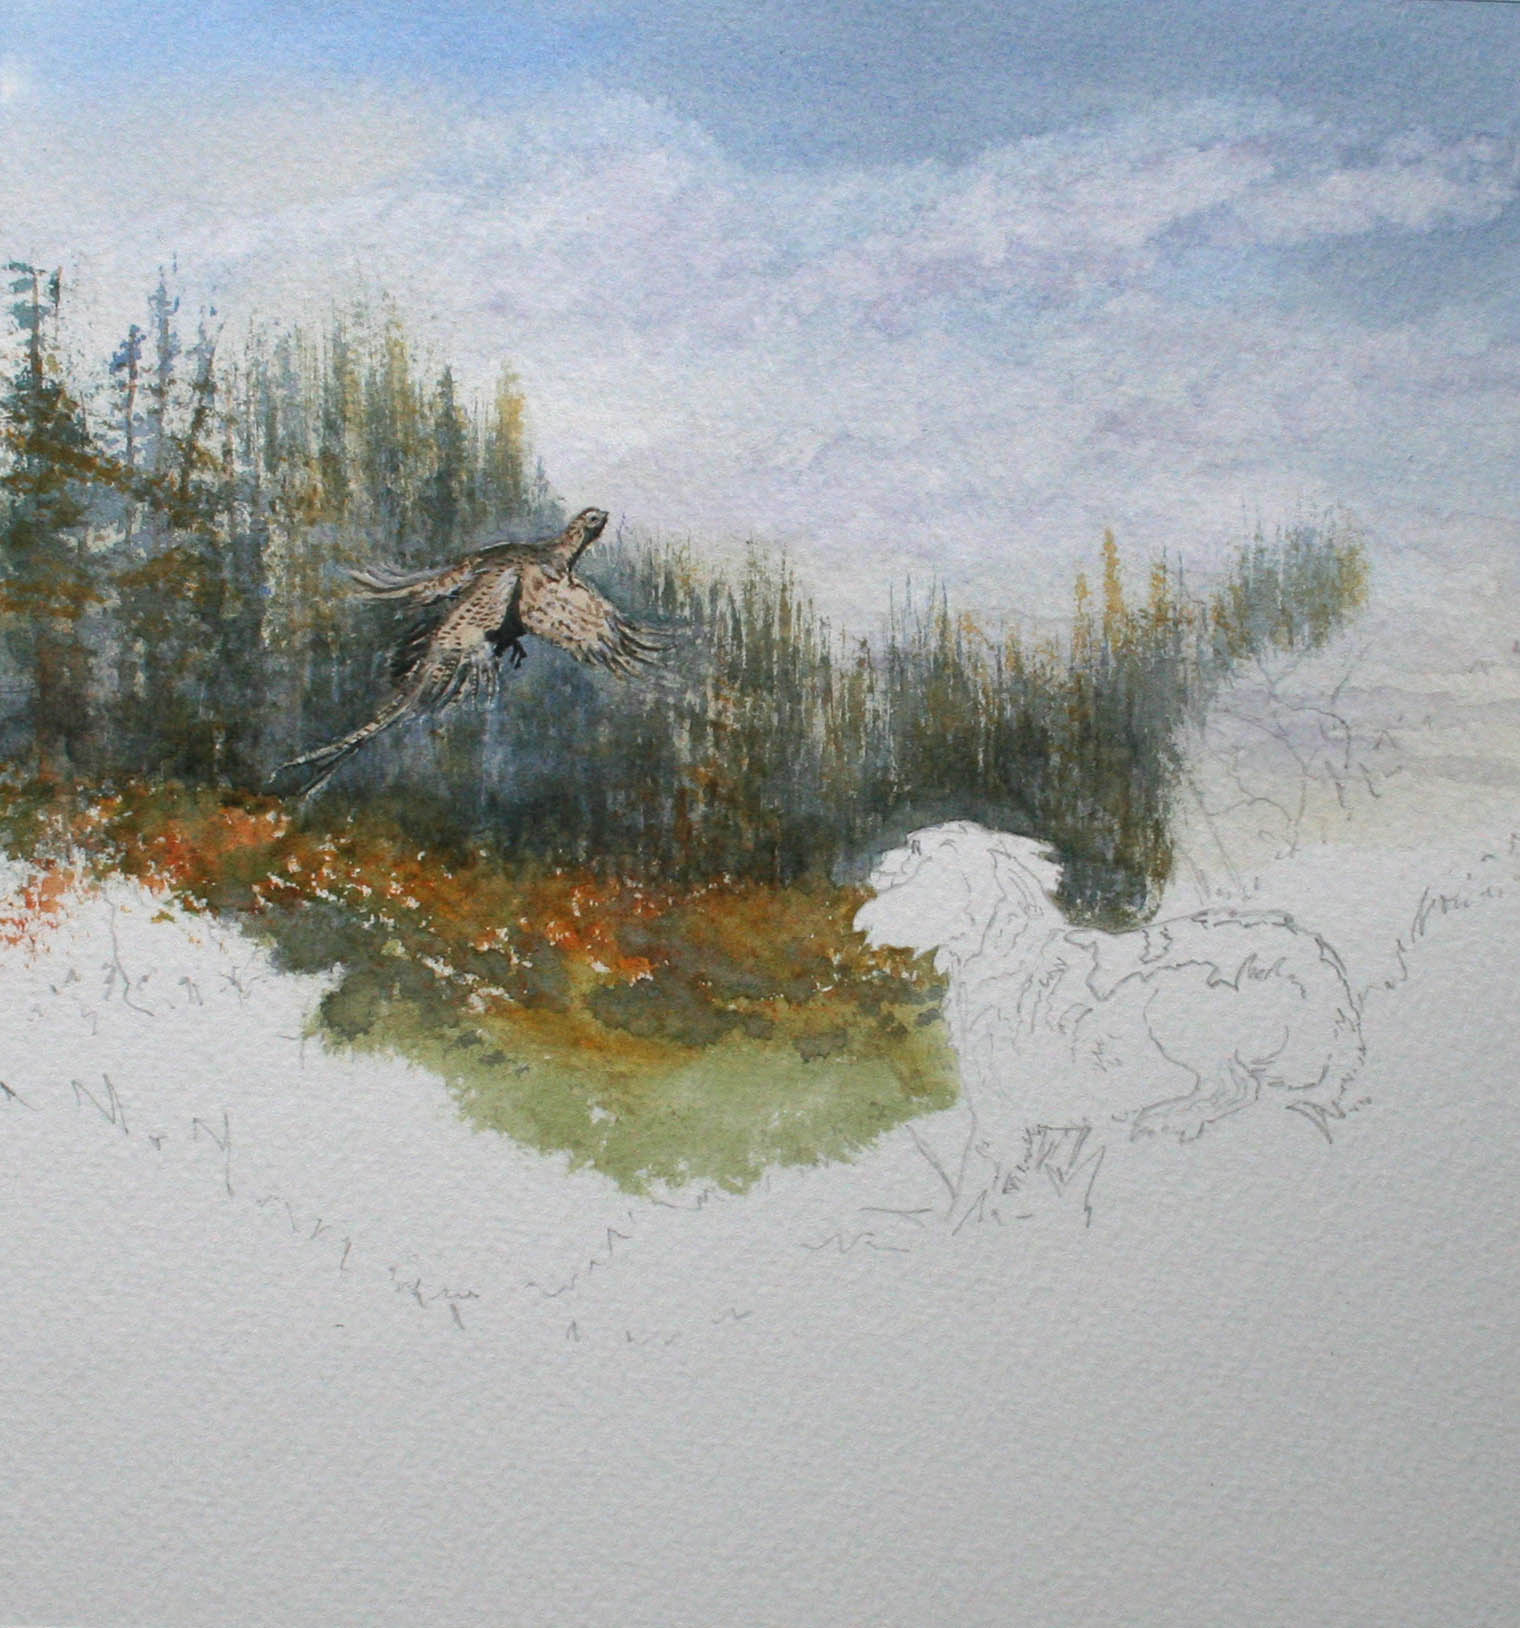
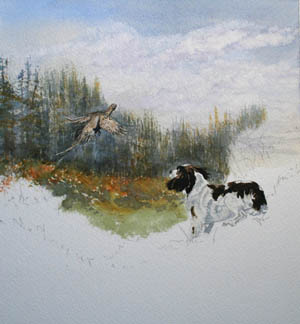
Step 2 :
For the
pheasant I changed to my round No 8 brush, I started off with a little
bit of the Charles Evans sand colour mixed with a tiny touch of raw
umber for the base of the plumage. Once this had dried I mixed raw umber
with burnt sienna for a few dibs and daubs here and there which
represent the markings in the plumage. If I wanted to get this darker
for some stronger markings for example in the tail feathers I put a tiny
touch of my cobalt blue into the brown and burnt sienna mix which makes
it slightly darker and stronger.
Notice for some of the large feathers on the tips of the wings I kept
this as a very light and airy stroke to give it the impression of a
little bit of movement. In other words don’t paint it too strong on
these bits, because its going to be moving your not going to see the
detail. For the shadow underneath the bird, cobalt blue with a tiny
touch of burnt sienna. Don’t go mad with this its just a little bit to
signify underneath the bird, keep it at its darkest for the leg dangling
down. |
 |
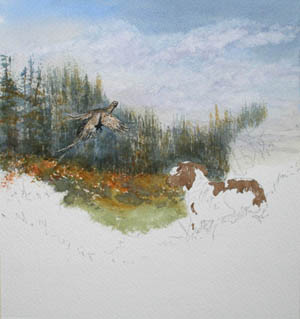 |
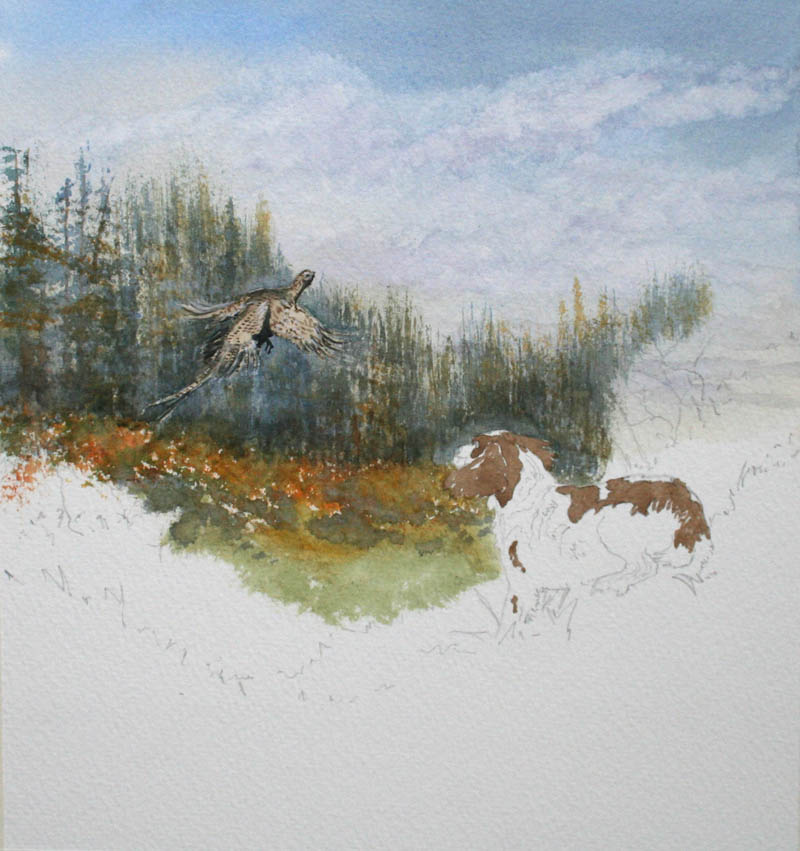
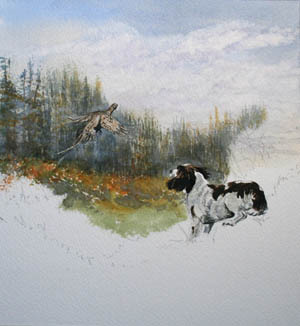
Step 3 :
Now into the
important bit, the dog. I started off with his brown markings which is
raw umber mixed with burnt sienna keeping it very very light for the
initial wash. Once this had dried go over the top with the same wash
darker and stronger leaving some of the lighter wash showing through
here and there, in other words building it up in layers to show the
light areas.
|
|
Step 4 :
Now into this already dried brown areas, I used the same mix of brown
but with a touch of cobalt blue into it to make it darker and a third
layer goes on top, leaving the other two layers showing through in a few
places. Concentrate on the dark brown especially underneath the head and
the ears to give it a little bit more shape.
|
 |
 |
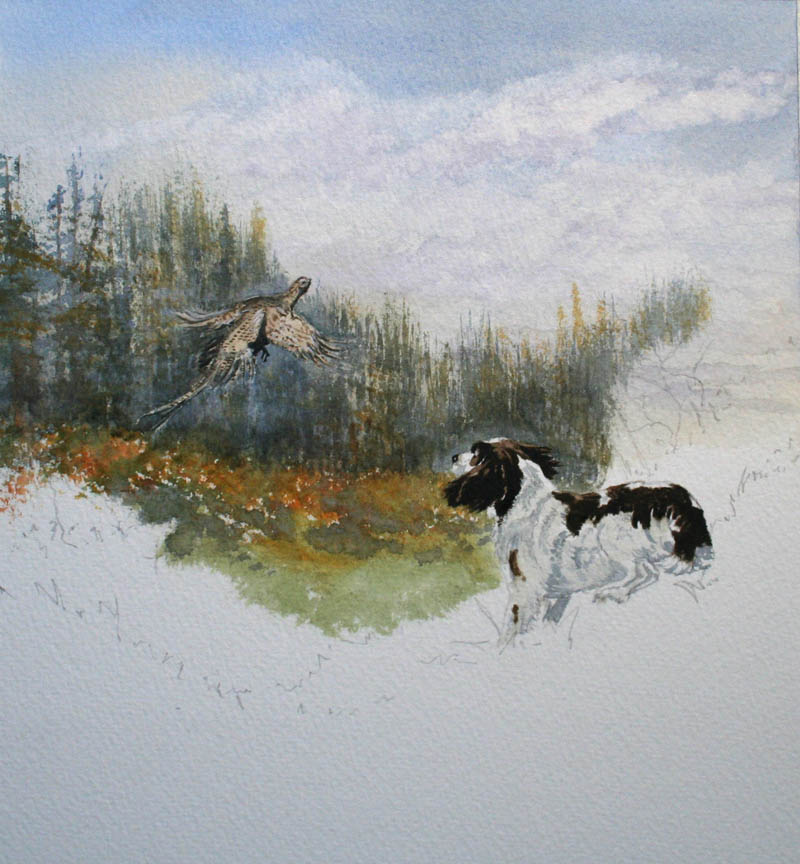
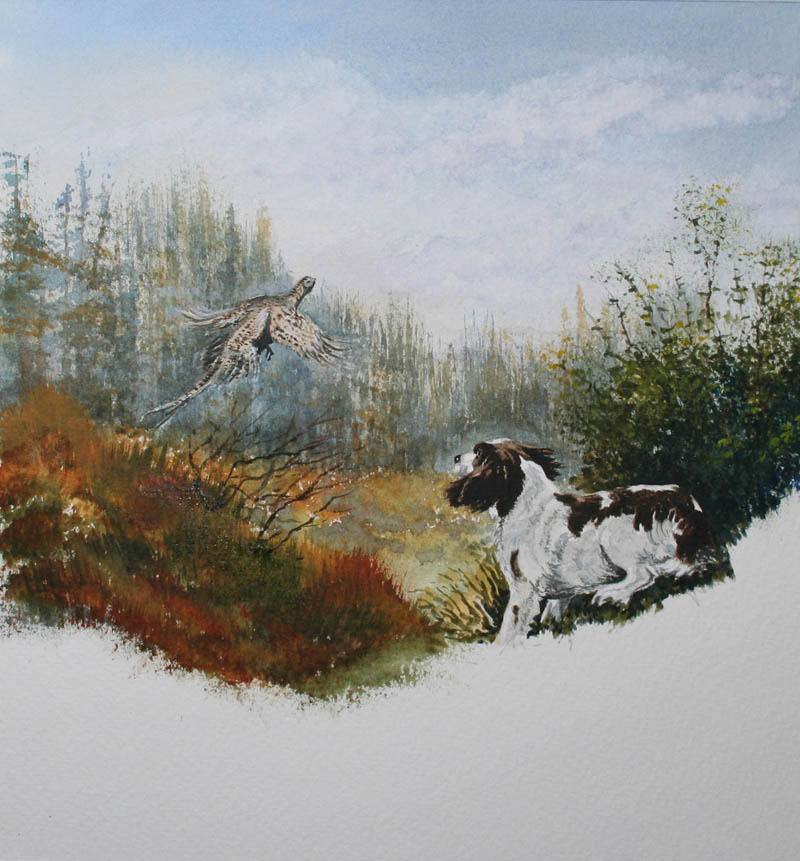
Step 5 :
For the white of the dog, as we all know, white in shadow is not white,
and in this case it’s the shadowed areas which are going to give the dog
some shape and movement. So I put a tiny touch of burnt sienna into my
cobalt blue and firstly going on very weak here and there add a few
touches of darker fur paying special attention to make sure these flow
in the direction and the shape you want to achieve. |
|
Step 6 :
Once I had finished the initial blue areas just as in the brown bits of
the dog I went over here and there adding little darker blue areas to
show a bit more depth before popping on his nose which I used the really
dark brown with the blue in but remember to leave a tiny touch of white
on his nose after all he is a very healthy dog with a wet nose.
For the shadow I used my blue and burnt sienna a lot darker this time. I
think its fairly obvious where I have put all the shadow, But I'm sure
you agree this really gives it some shape and form. |
 |
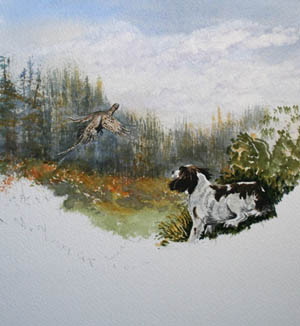 |
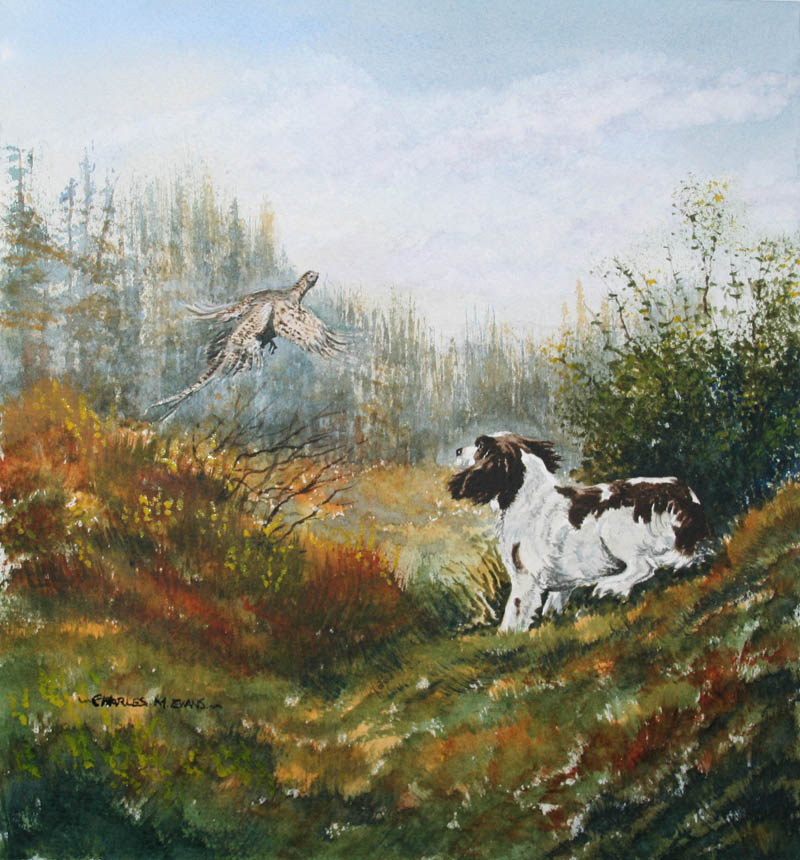
Step 7 :
Now it time to
start and build up all the foliage around the dog and for this I started
off with yellow ochre followed by hookers green and yellow ochre,
followed by hookers green and burnt sienna. I used my ¾” wash brush and
building it up gradually all whist it is still wet.
|
|
Step 8 :
For the
brambly bits behind the dog I firstly go my No 3 rigger and using my raw
umber pulled up a few twigs. Before tapping on here and there using the
same brush a mixture of hookers green and burnt sienna. To give the
impression of a few leaves on these twigs.
Finally in that piece of bush I got my ¾” wash brush (split) and
stippled on with hookers green and burnt sienna followed by cobalt blue
and burnt sienna. Over to the left I tried to keep these to fairly warm
colours using first yellow ochre, followed by burnt sienna, followed by
burnt sienna with a touch of hookers green in it. And I used my ¾” wash
brush again both split to stipple on and then in its normal condition
stroke up a few grasses. Before adding those little twiggy bits over to
the left again using my No 3 rigger and raw umber, but this time with a
little bit of blue into it. |
 |
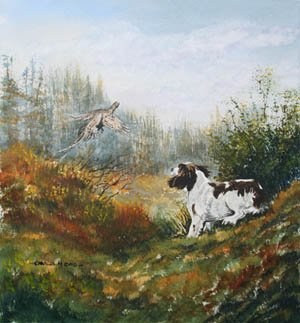 |
Step 9 :
For the big
grass area in the foreground I used my ¾” wash brush and it was all
bashed on whilst it was wet. Firstly yellow ochre, then hookers green
and yellow ochre, then hookers green and burnt sienna, and then finally
cobalt blue and burnt sienna.
Once it had started to dry a
little bit, I stroked up some of the these colours to give the
impression of some grasses here and there. Take your dog for a walk in
any woodland and its amazing how many times you will see this very scene
in action in front of your very own eyes.
|