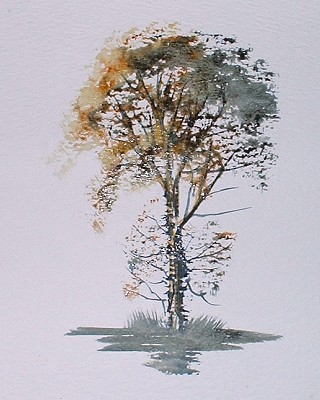
Autumn Tree
| STAGE BY STAGE | |||||
|
|||||
|
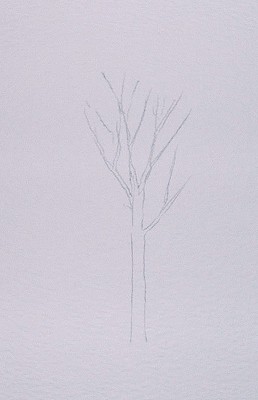
As you can see, the first image is a very simple outline sketch. Don't go into detail trying to draw loads of twigs, just the main trunk and the main boughs and the rest we will do with a paintbrush. |
||||
|
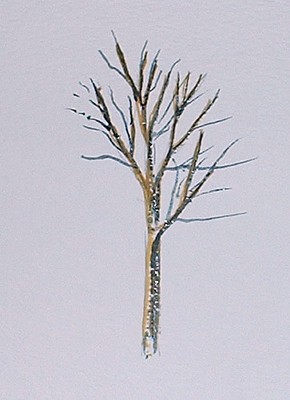
Now the left-hand side, yellow ochre, trying to capture
light. |
|
||||
|
In the middle section of the tree, raw umber, then at the right-hand side a mixture of ultramarine blue and burnt sienna. |
||||
|
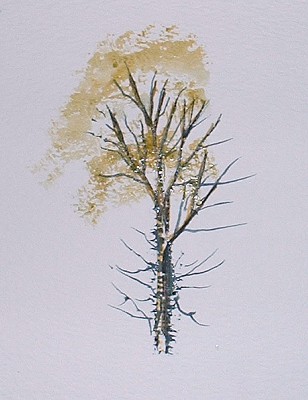
At this point I start to
invent a few
twigs. I used my rigger brush for all of the tree - a rigger brush is
a lovely bouncy flicky brush, so don't try to hold it stiff and tight, hold it further back and let the
brush bounce around and make the twigs for you. |
|
||||
|
Another use for a rigger brush is to lay the full length of the hairs on the side of the tree and just flick it out quickly using a mixture of ultramarine blue and burnt sienna and there we have rough growth on the side of the tree. |
||||
|
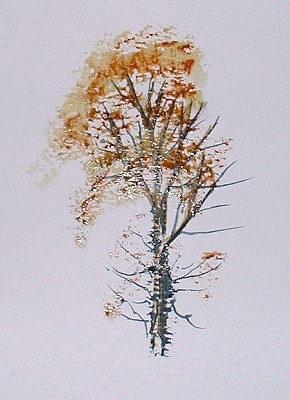
For the foliage I changed to my 3/4" wash brush and dabbed the brush flat, filling all of the hair with yellow ochre followed by burnt sienna. |
|
||||
|
Then a mixture of ultramarine blue and burnt sienna. Although the paint is fairly well watered down, don't have surplus water in the brush as these are fairly dry brush strokes. I have put a little bit of grass underneath the tree to finish it off and flicked up using my finger nails to make a clump of rough grass. And there we have a lovely autumnal tree. |
||||